
Wall and ceiling system · ComfortScrim
The most evenradiant heat we supply.
ComfortScrim goes behind the plaster on walls and ceilings alike, adding 2–3 mm to the build-up. It emits at 40–55 °C with 40–60% of its output arriving as infrared. That balance of a large surface at a moderate temperature is what makes it the most comfortable of the three systems.
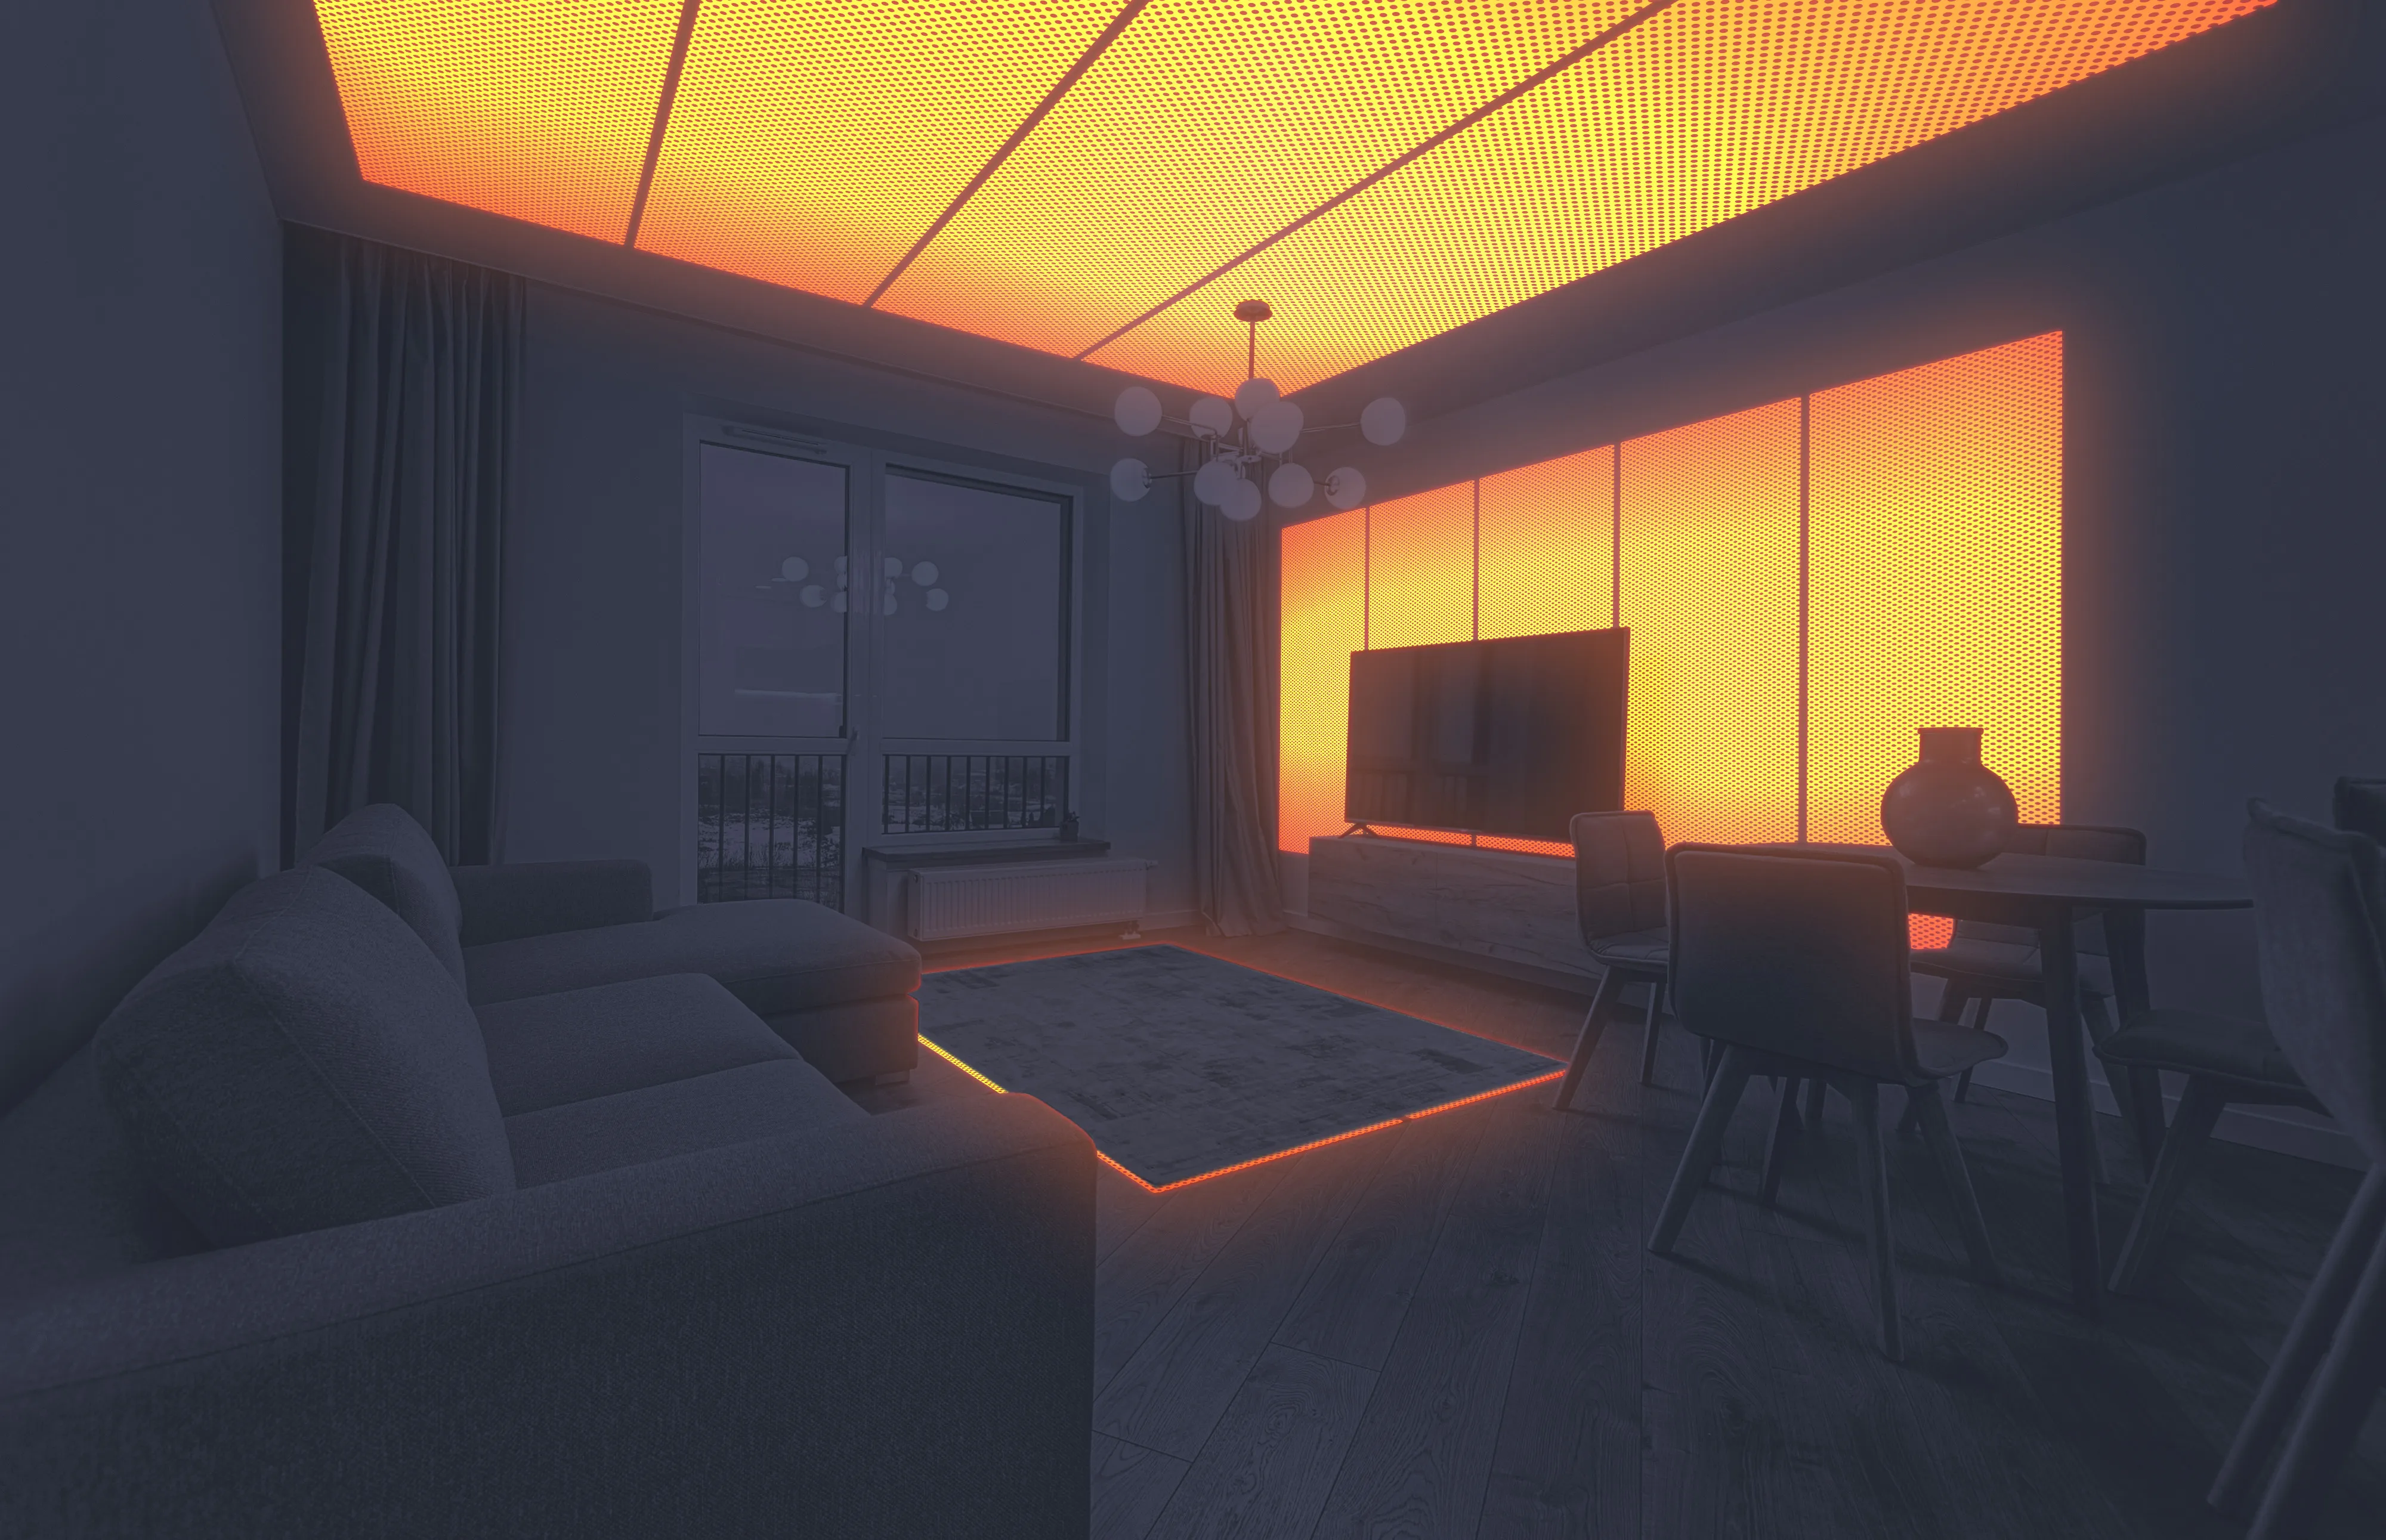
- Element
- ComfortScrim
- Installed output
- 300–400 W/m²
- Surface temperature
- 40–55 °C
- Build-up
- 2–3 mm under plaster
- Infrared proportion
- 40–60% of output
- Time to felt warmth
- 10–30 min
How the system works
The same scrim, plastered into a wall or into a ceiling.
ComfortScrim is fitted behind plaster on walls and ceilings alike. It emits at 40–55 °C with 40–60% of its output delivered as infrared. That balance of a large surface at a moderate temperature is what makes it the most even and comfortable radiant heating we supply.
On the wall. A heated wall is something you can sit against. Fitted behind the plaster of the wall a sofa, a bed or a bench backs onto, it turns the coldest surface in the room into the most comfortable one, warm to lean on at a temperature you would never call hot. It is the usual answer for retrofit, heritage and protected structures, where there is nowhere to put a radiator and nothing may be seen.
On the ceiling. An unobstructed emitting plane with clear line of sight to everyone below, and no furniture, rug or cabinet standing in the way of it. Nothing on the floor or walls is disturbed, which makes it the least disruptive route into an occupied building.
Wall, with insulation
Where the fabric is being upgradedWall, without insulation
Straight onto a sound existing wallCeiling
On a plasterboard ceilingThe element is pressed into a wet 1–2 mm base coat and closed with a further 1–2 mm, so the two coats key through the perforations and bond to each other. Total added build-up: 2–3 mm.
- Step 01
Prepare the surface
Substrate made sound and primed, insulation or backing board fixed where the construction calls for it.
- Step 02
Lay the base coat
A 1 to 2 mm base coat of plaster or gypsum goes on, ready to receive the element while it is still workable.
- Step 03
Press in the scrim
Pre-cut lengths pressed into the wet base coat to the layout drawing, bus bars aligned. The plaster keys through the perforations as it goes.
- Step 04
Make the connections
Bus bars connected to the zone wiring and back to the Multi Zone Power Supply, sensor set, resistance and insulation tests recorded.
- Step 05
Plaster over the film
A further 1 to 2 mm of plaster over the element, closing it into a single continuous coat.
- Step 06
Paint the finish
Finishing paint or decoration as normal. From here the wall or ceiling is just a wall or ceiling.
Why specify it
-
The most even heat
40–60% of output arrives as infrared, from a large surface at a moderate temperature.
-
Adds 2–3 mm
Behind the plaster on a wall or ceiling. The plaster keys straight through the perforated element.
-
12–48 V DC
Safe extra-low voltage. Runs from PV or battery on the same low-voltage bus.
-
Drill straight through it
Because it is low voltage, holes up to 70 mm across can be made in the scrim without affecting how it works.
-
Wet rooms without a question
Extra-low voltage makes bathrooms and wet rooms the normal case rather than the exception.
-
Fire resistant
Tested as part of SafeTech. CE and TÜV certified, RoHS compliant.
-
Stops condensation
Holding a cold external wall above dew point ends damp and mould at the source.
-
Fits the plastering sequence
Pressed into the base coat by your plasterer, connected by your electrician. No special trade.
Buried and forgotten
A layer the building does not notice.
The element goes into the plaster and stays there for the life of the wall. Everything about how it is made is aimed at that: it should not change how the finish behaves, it should not make the wall fragile, and it should not stop anyone hanging a picture ten years later.
-
No shear plane, no cracking risk
ComfortScrim is a webbed, perforated scrim rather than a solid sheet. The base coat and the top coat key through it and bond to each other, so the finish stays one continuous layer instead of two coats sandwiching a membrane.
-
Drill into it later
Because the element runs at 12 to 48 V, holes up to 70 mm across can be made through the scrim without any danger to whoever is drilling and without stopping it working. Current routes around the opening through the surrounding web.
-
Made for wet rooms
Safety extra-low voltage is what lets a heated surface go into a bathroom, a wet room or a shower wall at all. The element is water-immersion tested, and in these rooms it is the system we specify by default rather than by exception.
-
20–30% of the room surface
A wall and ceiling system typically covers a fifth to a third of the room surface area. The rest of the wall stays ordinary wall, which is what keeps the build-up, the cost and the electrical load down.
The system, together
Four parts, and only one of them ends up inside the wall.
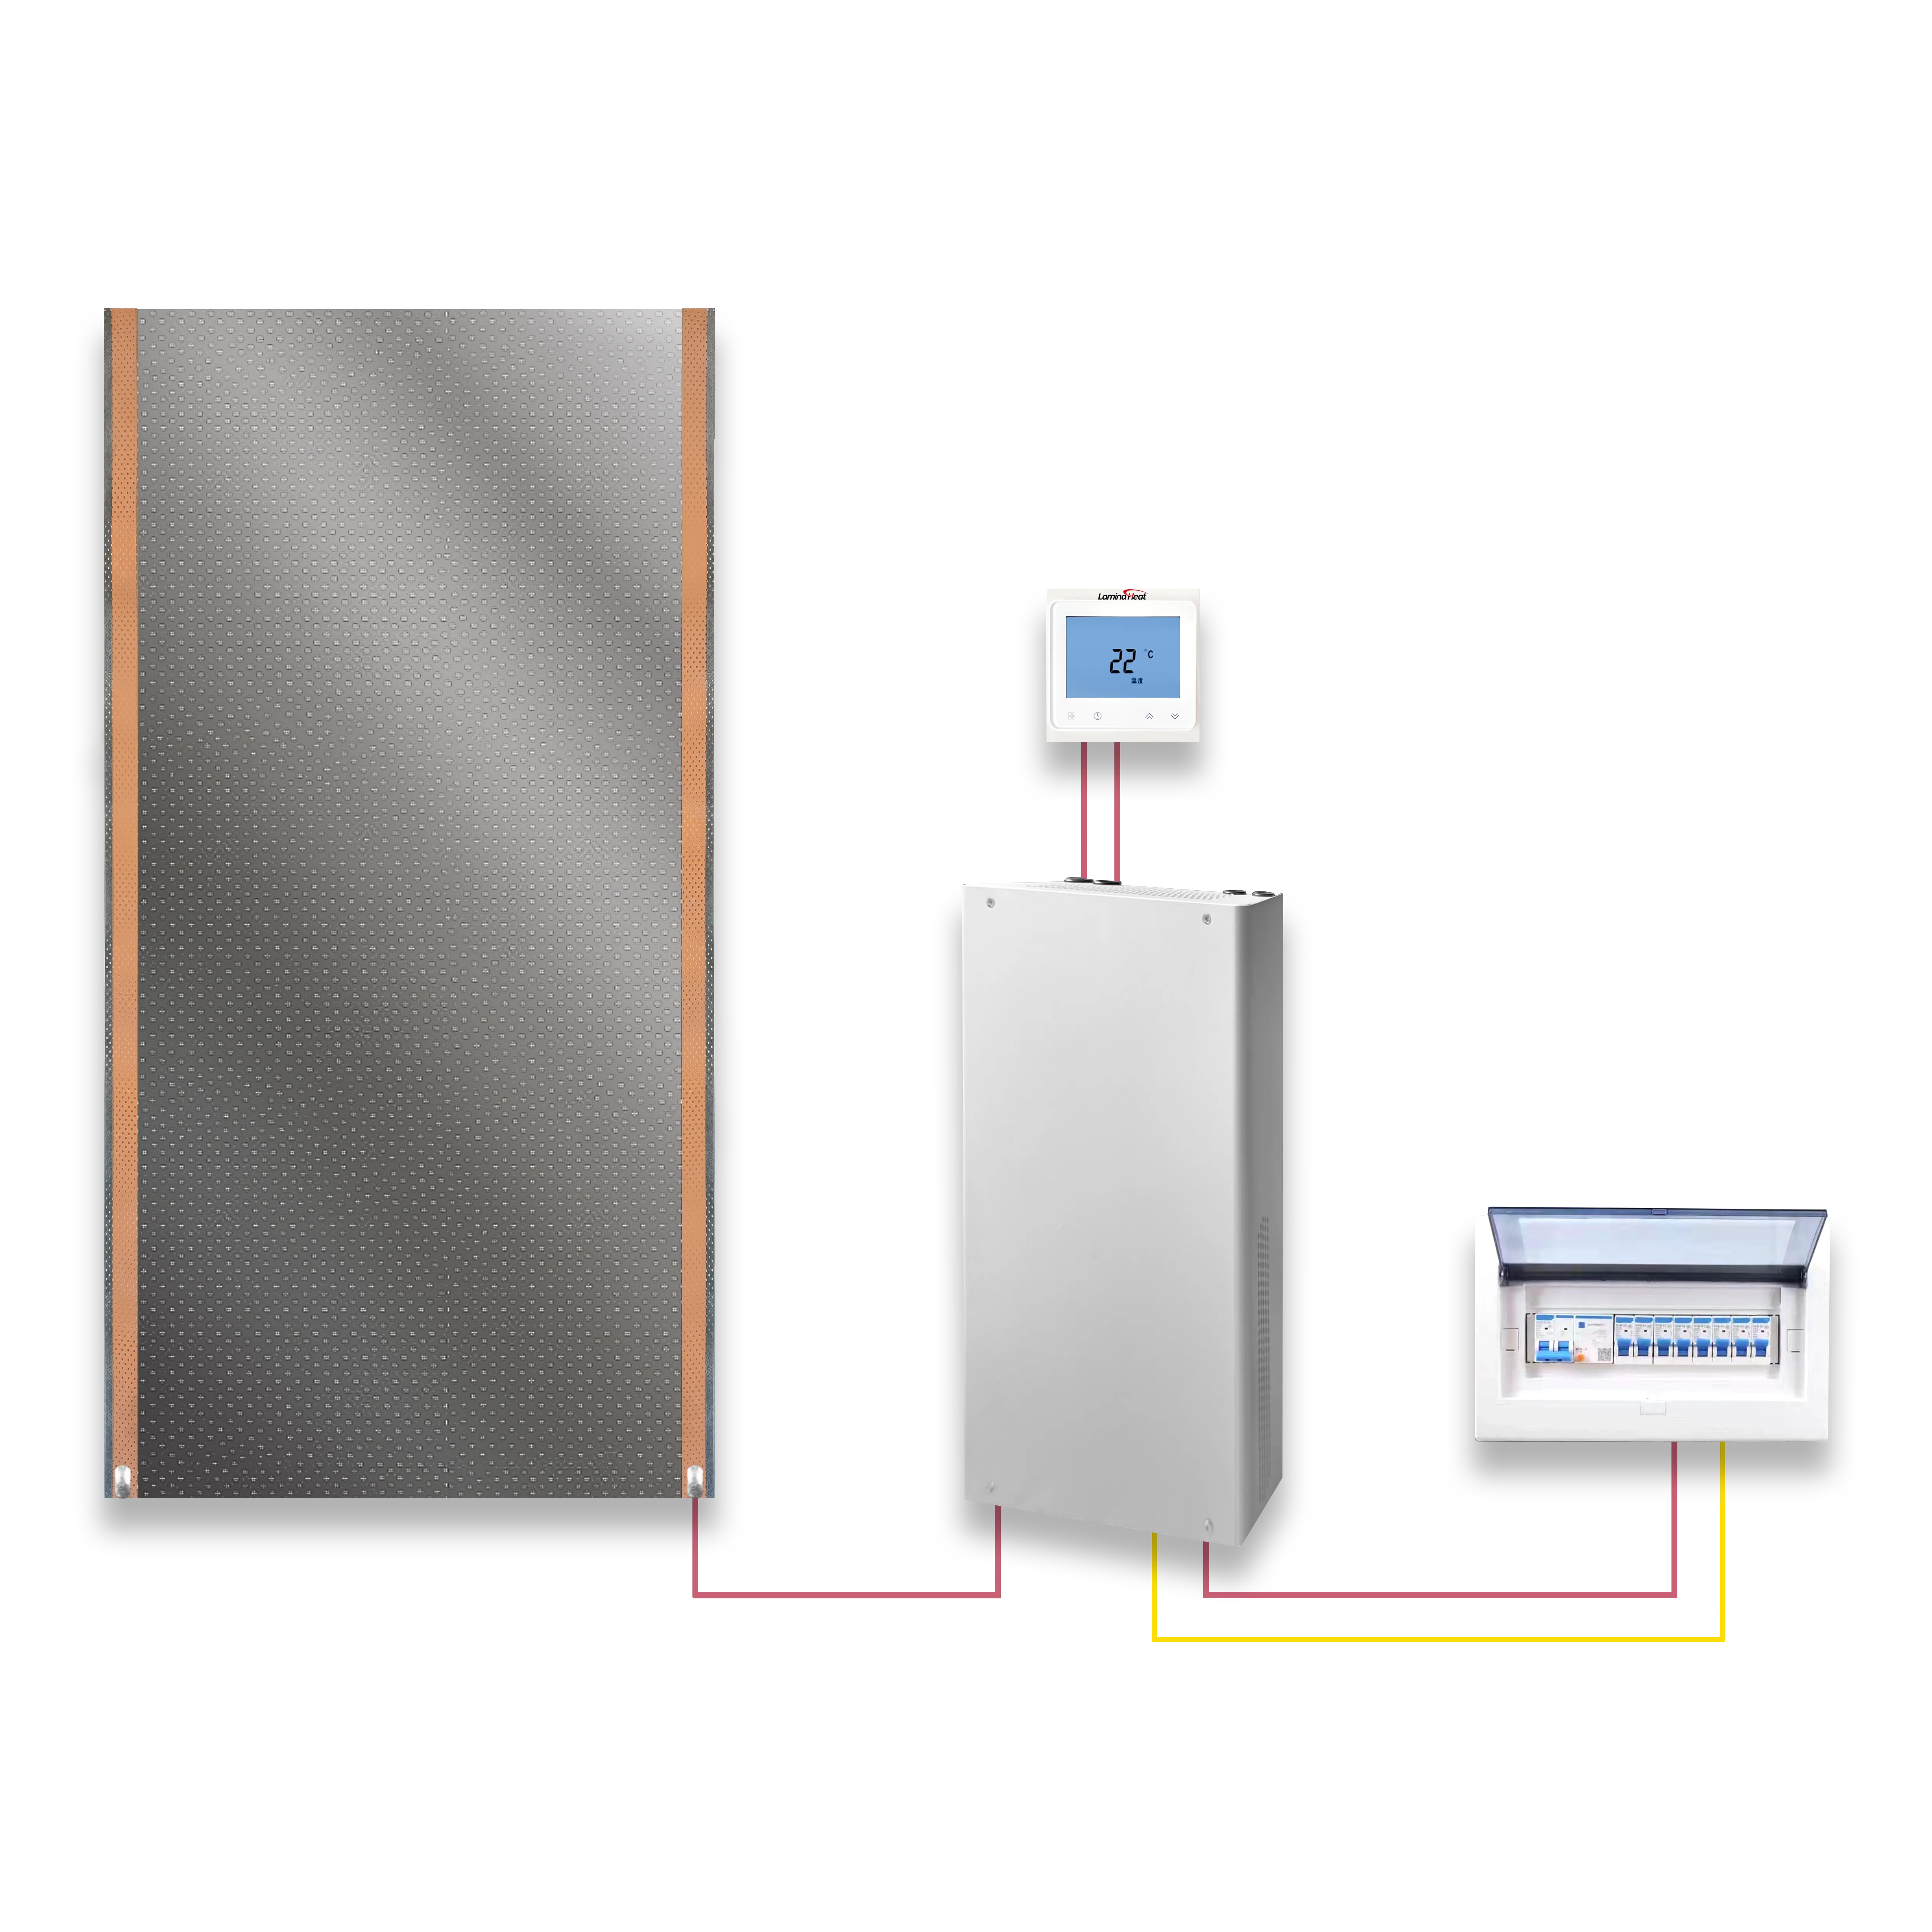
ComfortScrim is not sold as a roll of film on its own. What arrives is a system: the element cut to your rooms, the thermostats that run each zone, the power supply that feeds them at safe voltage, and the drawings that tie the three together.
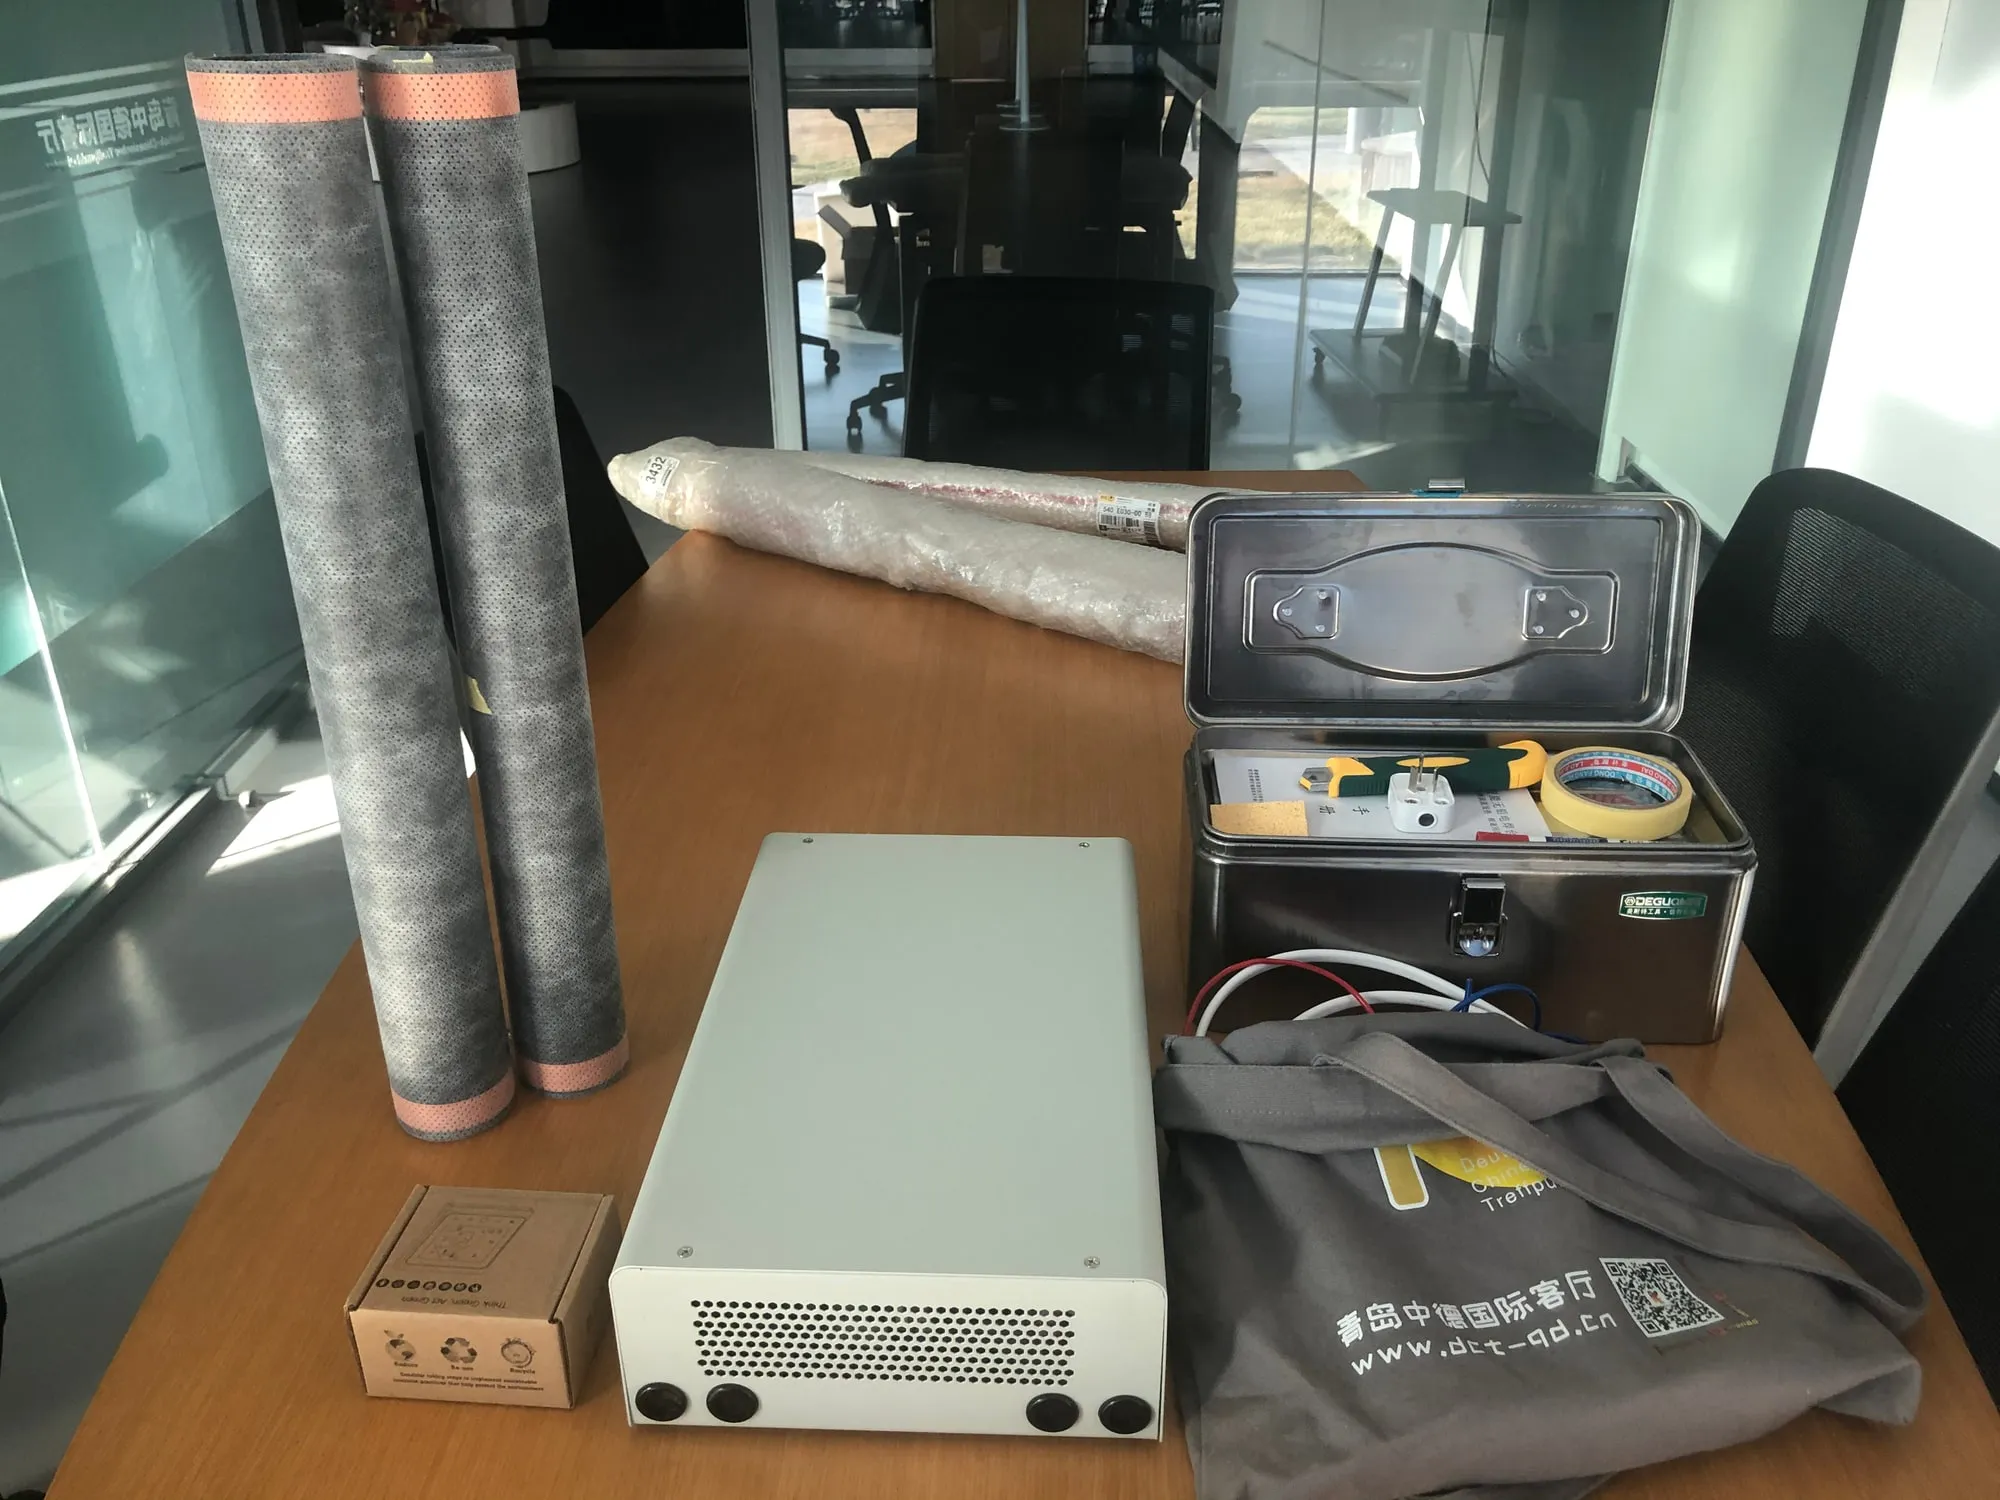
- Element
ComfortScrim
Perforated carbon-fibre scrim, 0.4 mm thick, pre-cut to the layout drawing with copper bus bars along each edge.
- Control
Room thermostat
One per zone, wired at extra-low voltage. Room sensor, floor sensor or both, with scheduling.
- Supply
Multi Zone Power Supply
Isolates the mains and steps it down to 12–48 V. Up to five independently controlled zones from one wall-mounted unit.
- Circuit
Consumer unit
A single dedicated mains circuit and breaker. Nothing else changes in the building electrics.
The element itself
| Element thickness | 0.4 mm |
|---|---|
| Widths | 600 and 900 mm |
| Roll length | Up to 100 m, cut to the layout drawing |
| Operating voltage | 12–48 V AC/DC, safety extra-low voltage |
| Electricity to heat | 99.7% conversion |
| Certification | CE · TÜV · RoHS compliant |
Powering a low-voltage system
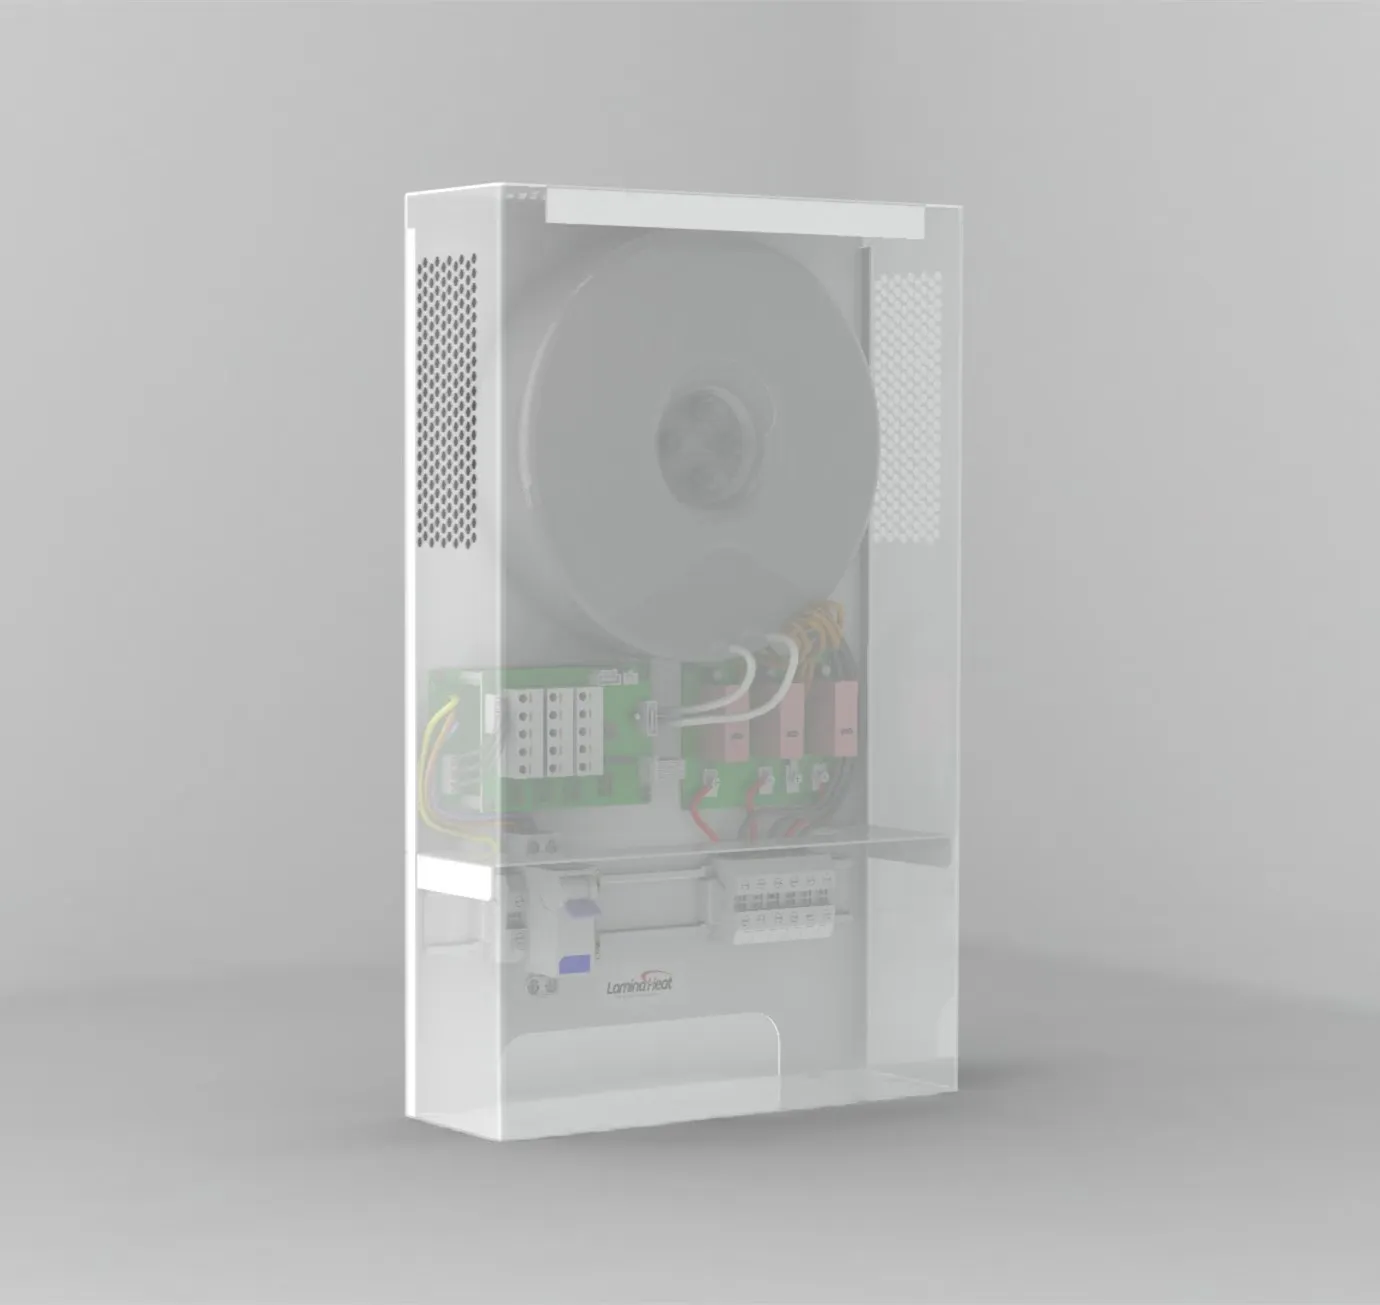
The LaminaHeat Multi Zone Power Supply.
A wall or ceiling element runs at 12 to 48 volts. That is the reason it can be plastered into a bathroom wall and forgotten. The Multi Zone Power Supply is the unit that makes it possible: it takes ordinary mains, isolates it, steps it down to the element's voltage and runs each room as its own zone.
-
Up to five zones from one unit
Each zone has its own thermostat and its own protected output. One unit heats several rooms, each on its own schedule.
-
Sized to the project, up to 6000 W
Units are specified against the layout drawing, from a single room to a whole floor of an apartment or office.
-
110 to 240 V in, 12 to 48 V out
Universal mains input. Output voltage is chosen to suit the element and the run lengths, with 12, 24, 36 and 48 V all standard.
-
Safety extra-low voltage
An isolated toroidal transformer keeps the heated surface at SELV. That is what makes an element you can plaster into a wall or a wet room.
-
Protection that resets itself
Over-voltage, over-temperature and overload are each cut and shown on the panel. Every output carries its own fuse, and faults restart automatically once cleared.
-
Quiet, efficient, PV-ready
Soft-start control, around 96% efficiency and no fan. A DC input from PV or battery is available for off-grid and solar-first buildings.
- Zones
- 1–5 per unit
- Output
- Up to 6000 W
- Input
- 110–240 V AC · PV / battery DC option
- Output voltage
- 12 · 24 · 36 · 48 V
- Certification
- CE
- Warranty
- 5 years
Reference pictures
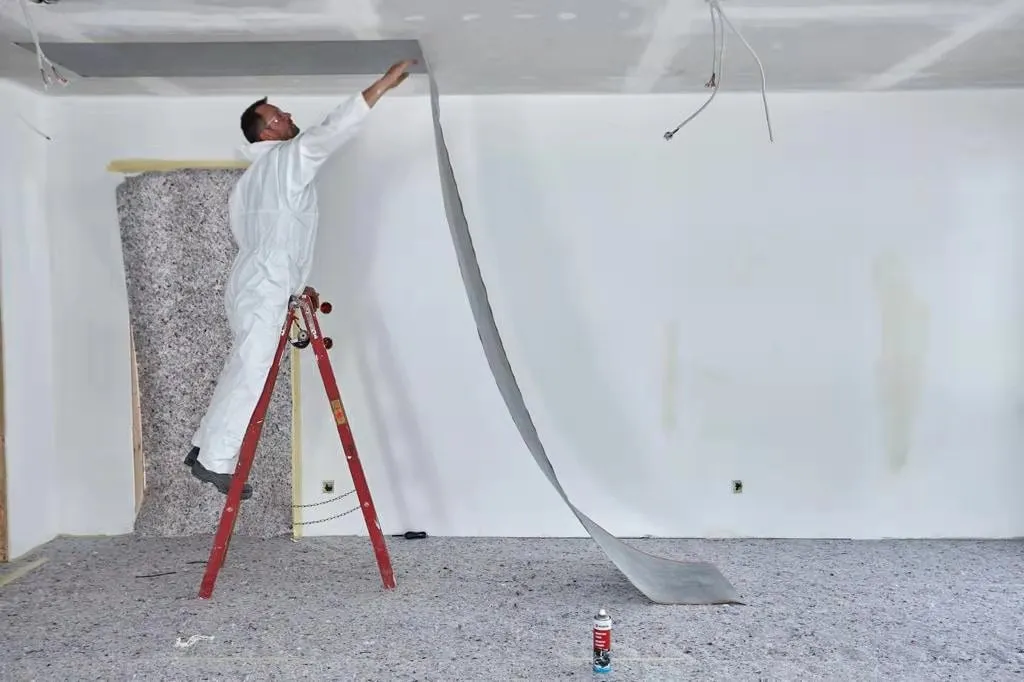
Unrolled straight down the wall, office building 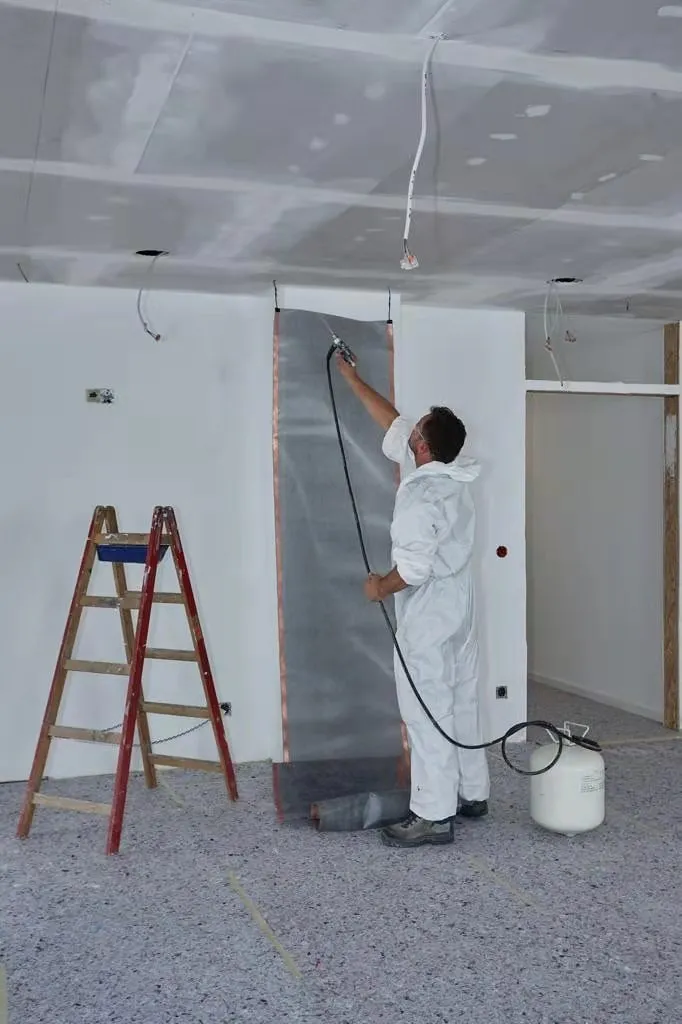
Smoothed into the base coat 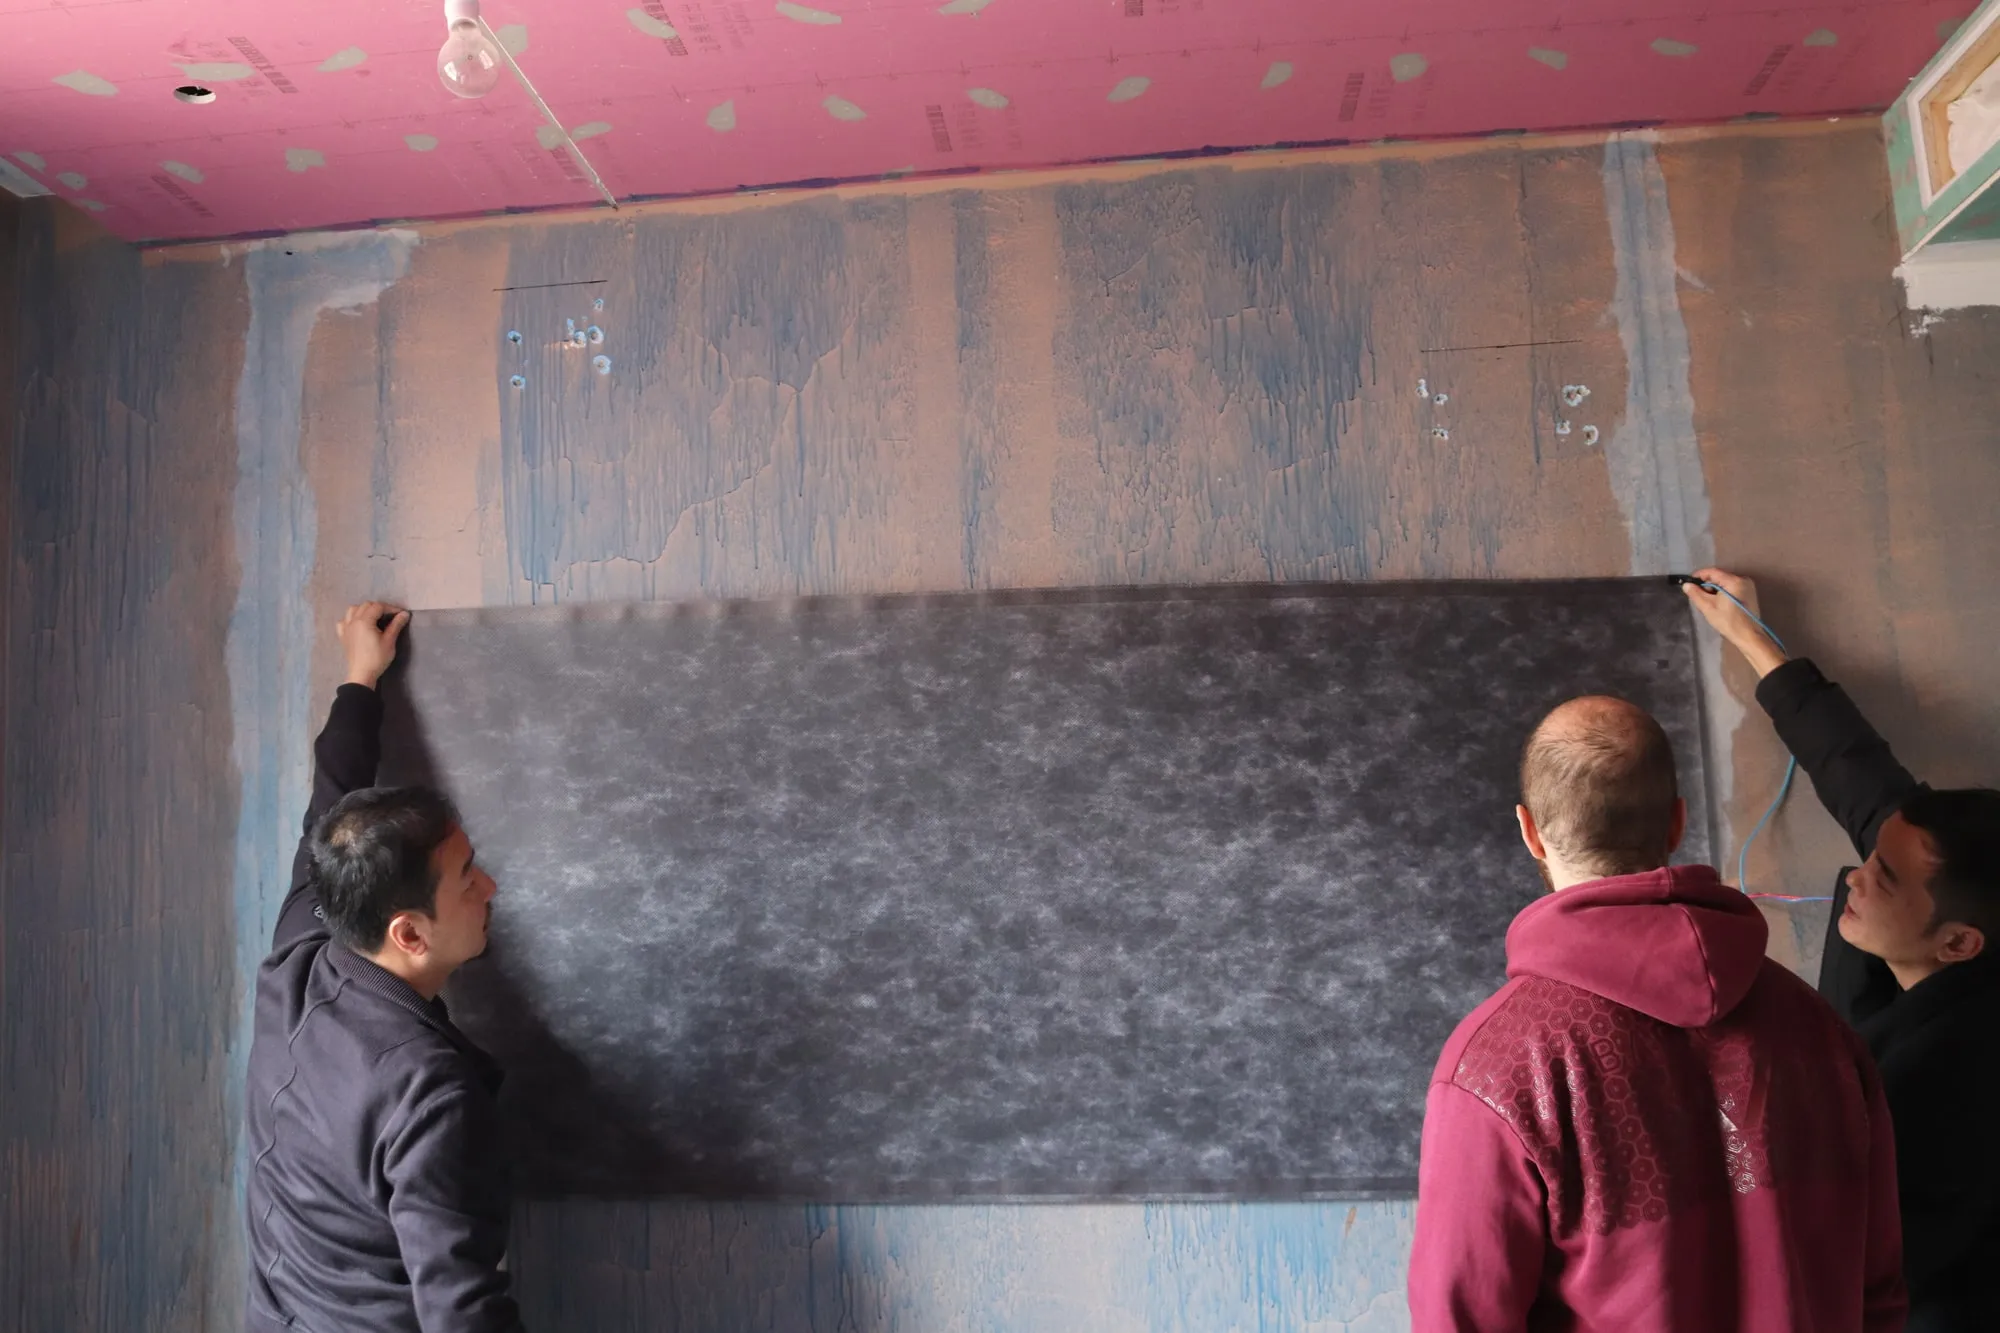
Two-hand work on a full-height wall 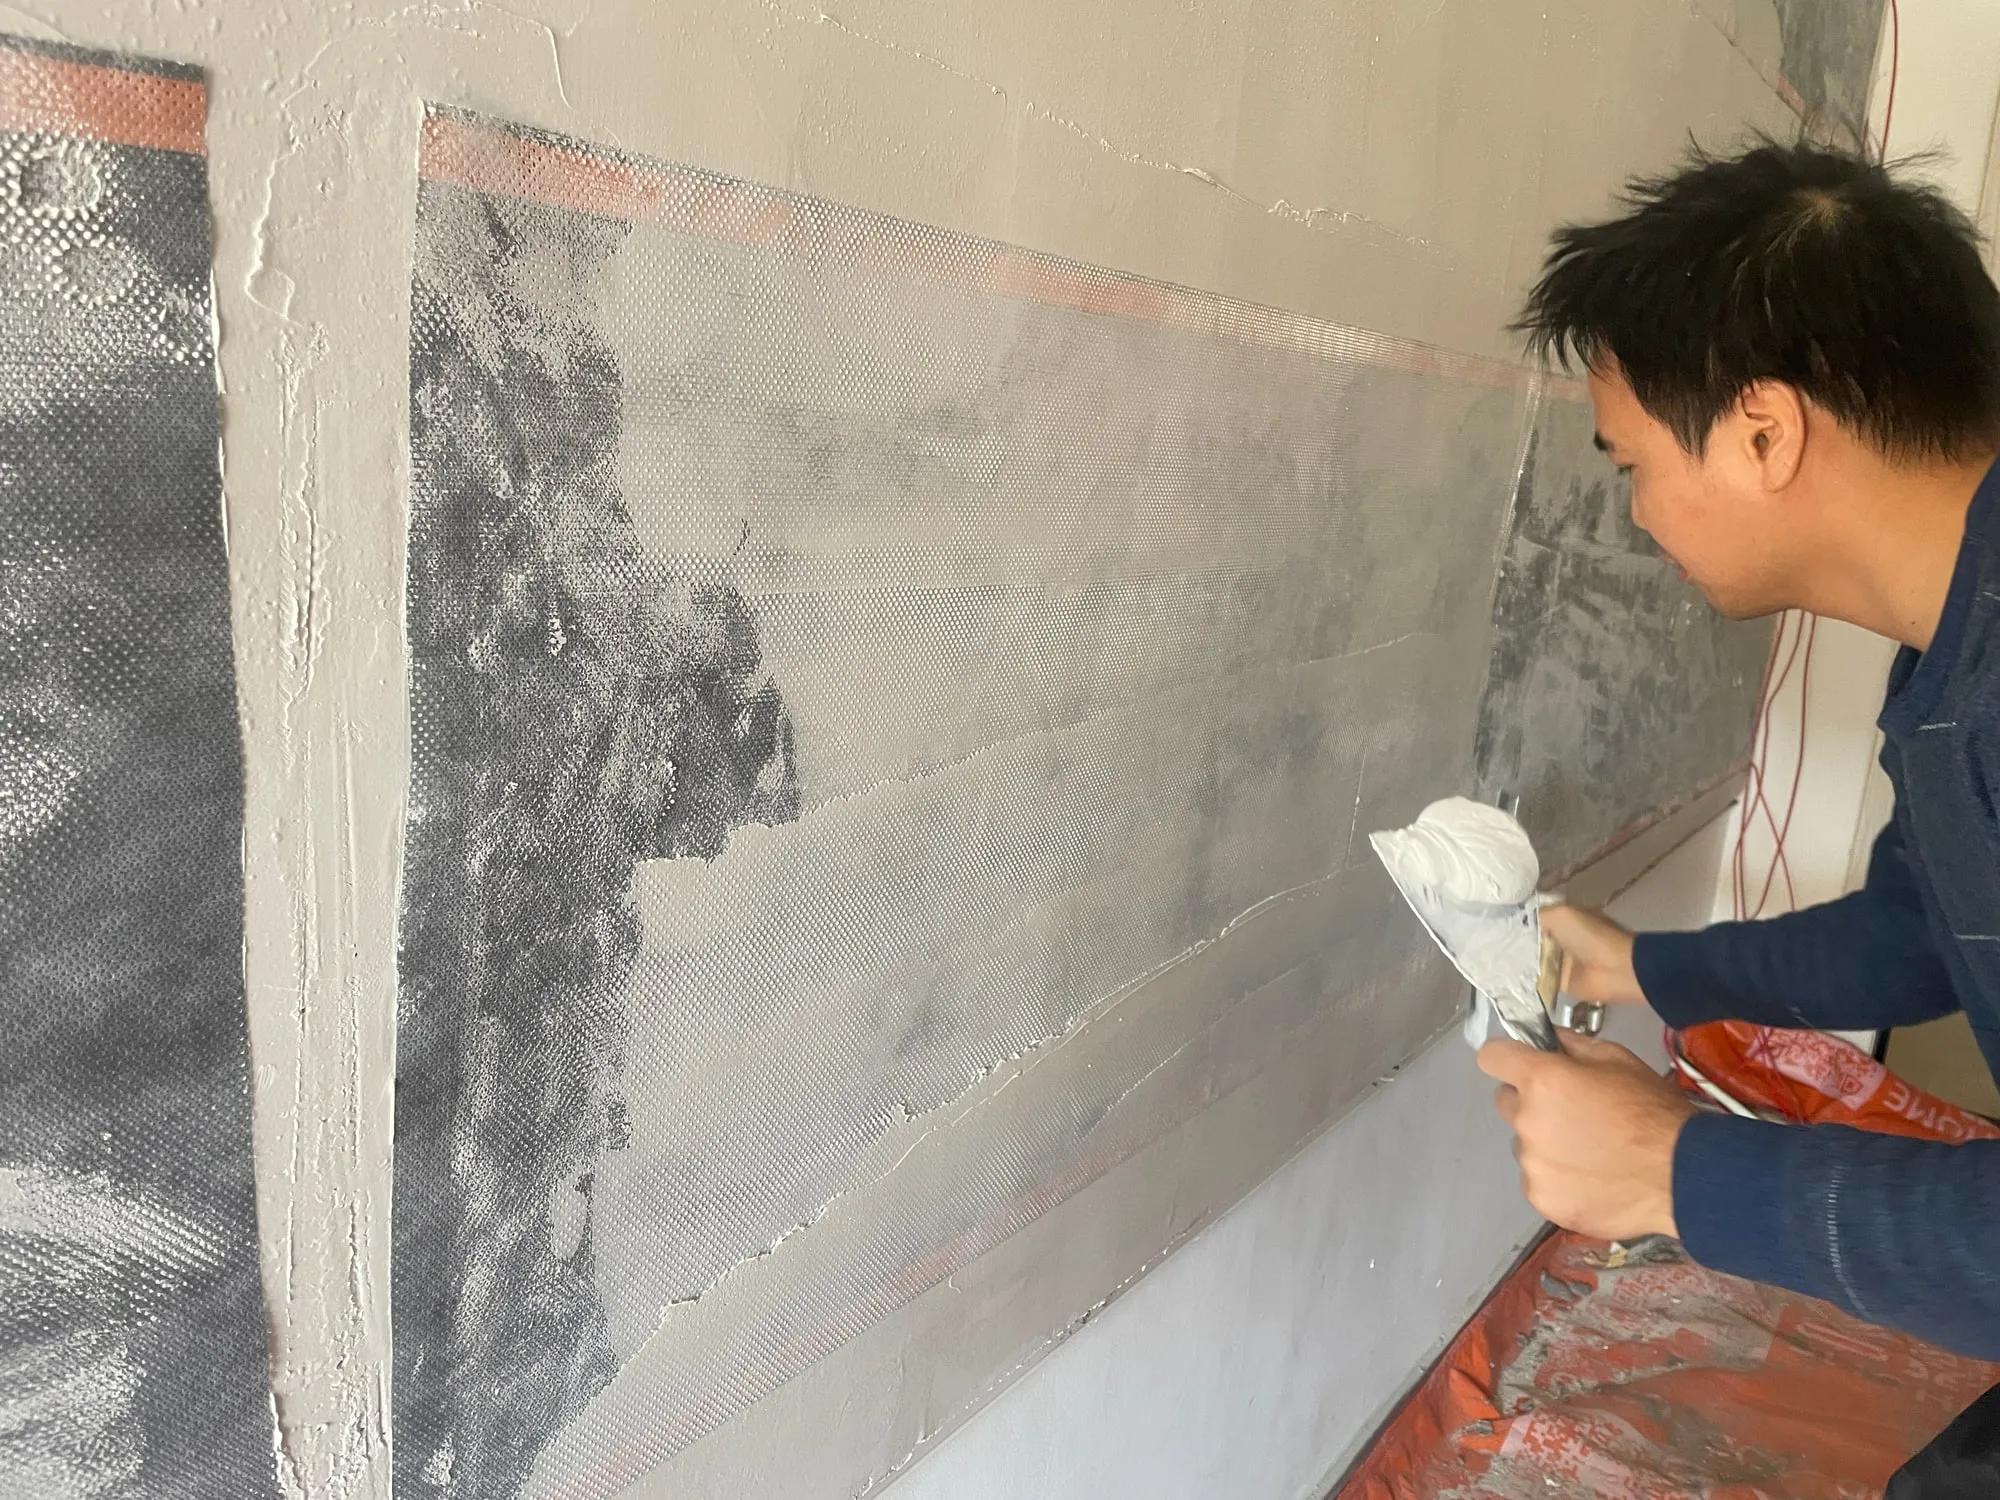
Plaster going over the element 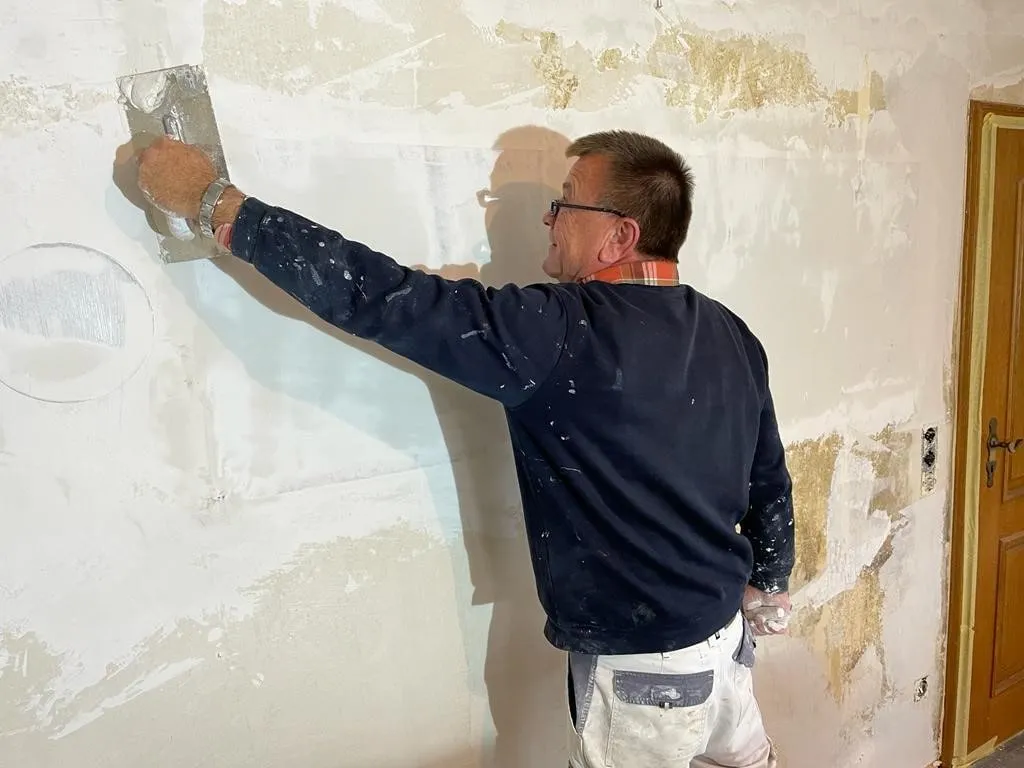
Skimmed over on an old wall 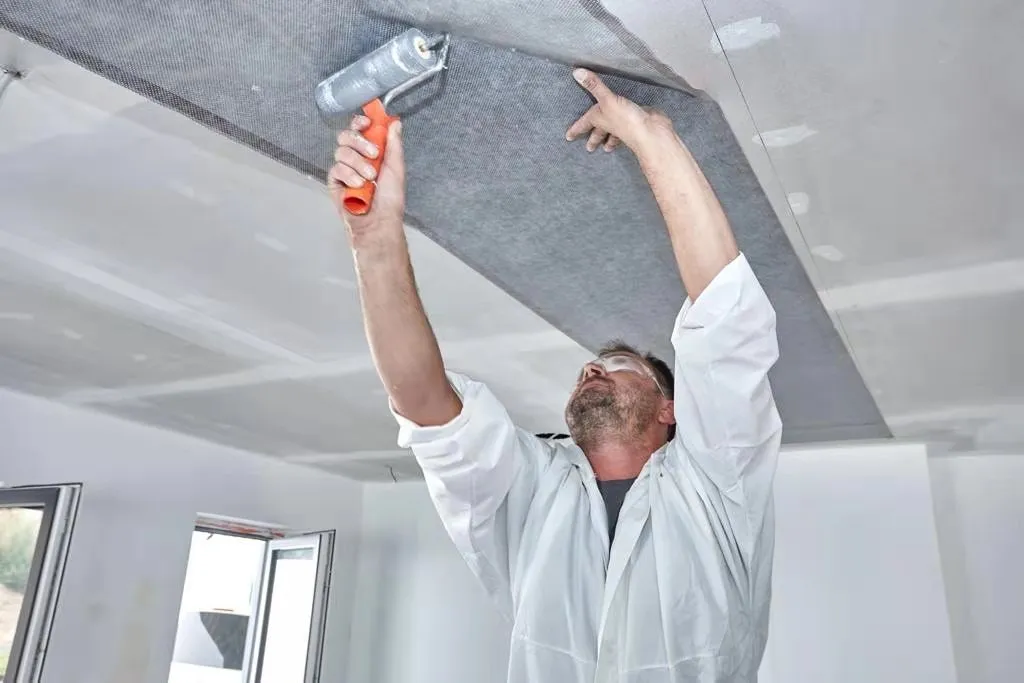
Rolled out across a ceiling 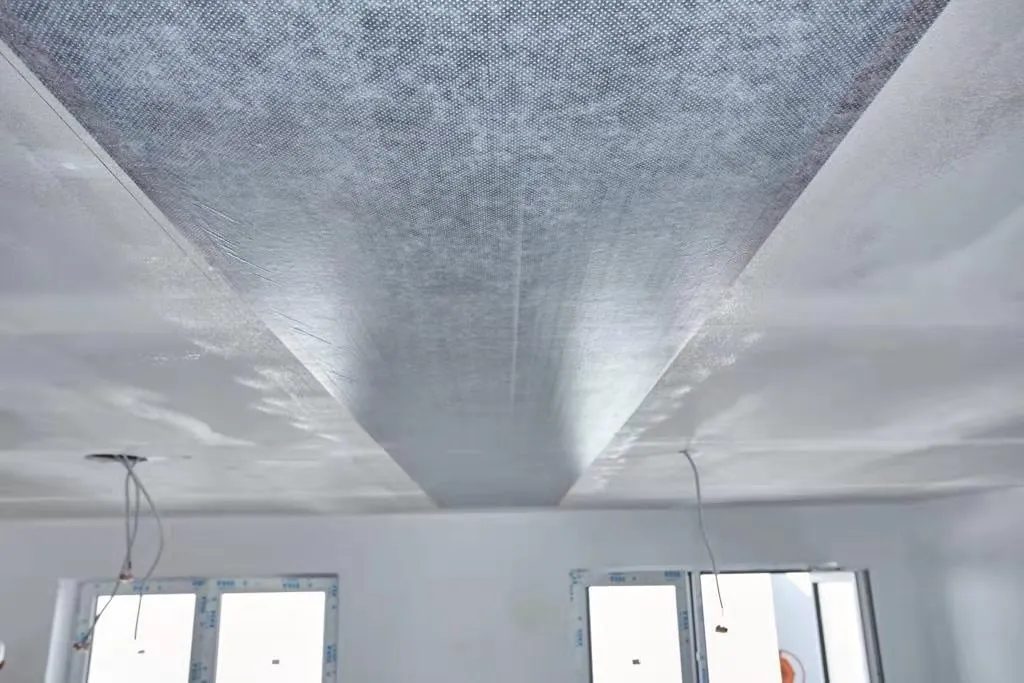
Bays set out across the ceiling 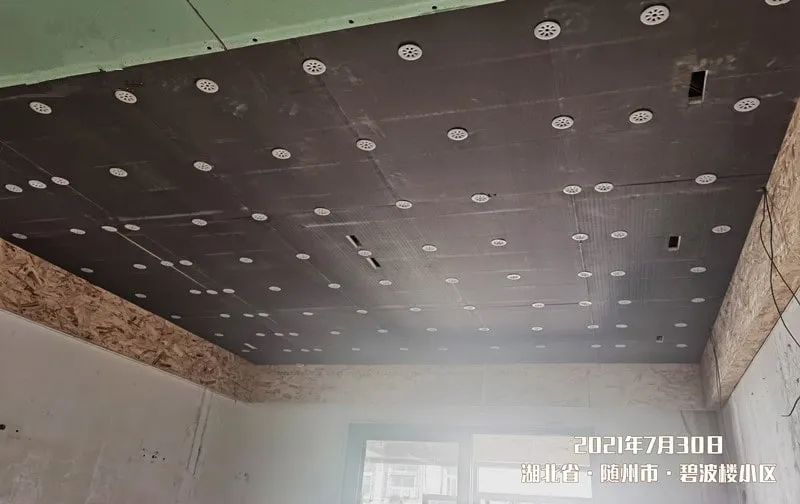
Routed around the downlights 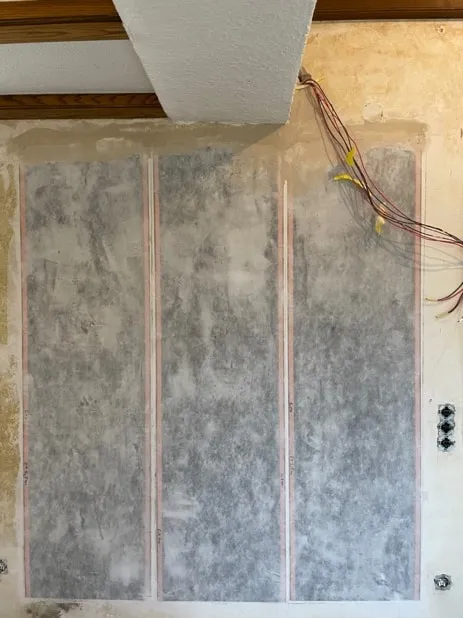
Three bays fitted, old winery in Detzem, Germany 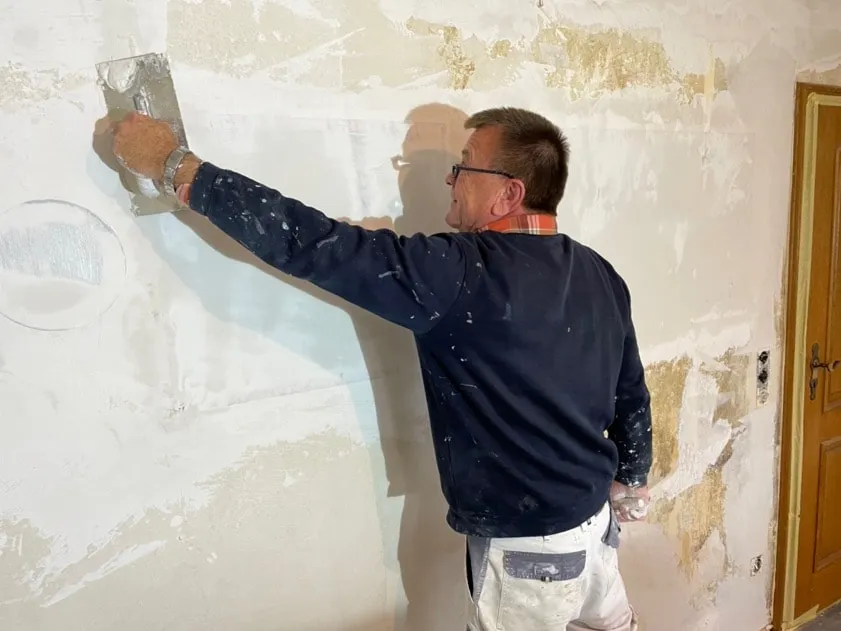
Plastered straight over by the painter, Detzem 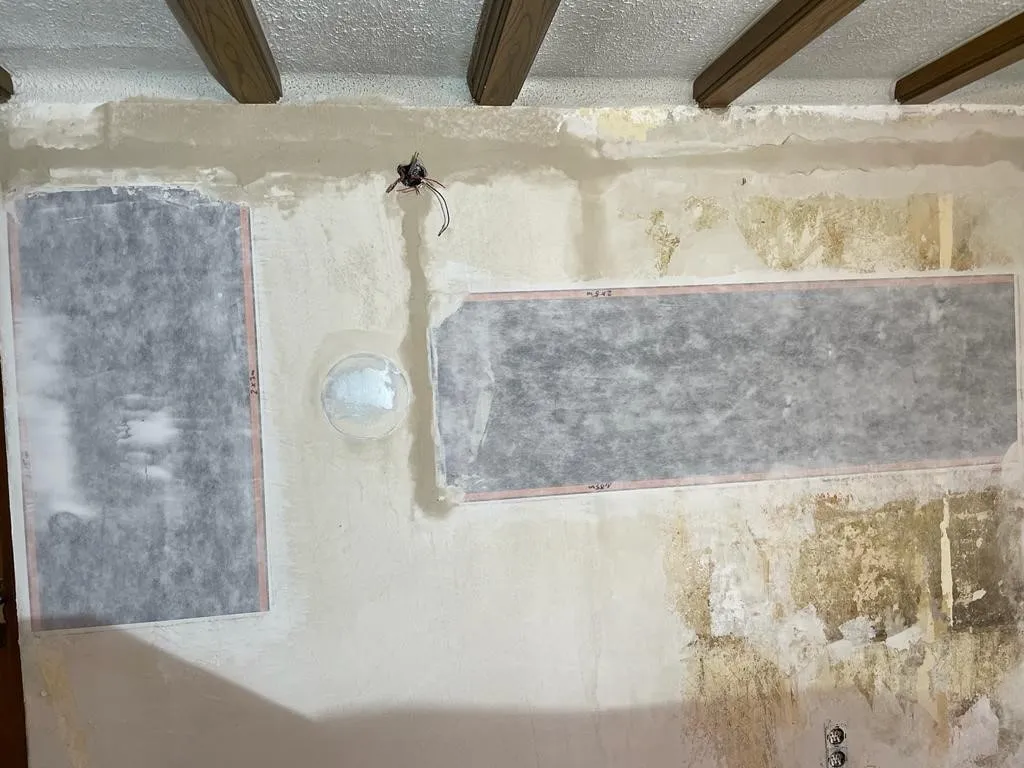
Fitted between exposed beams, heritage building 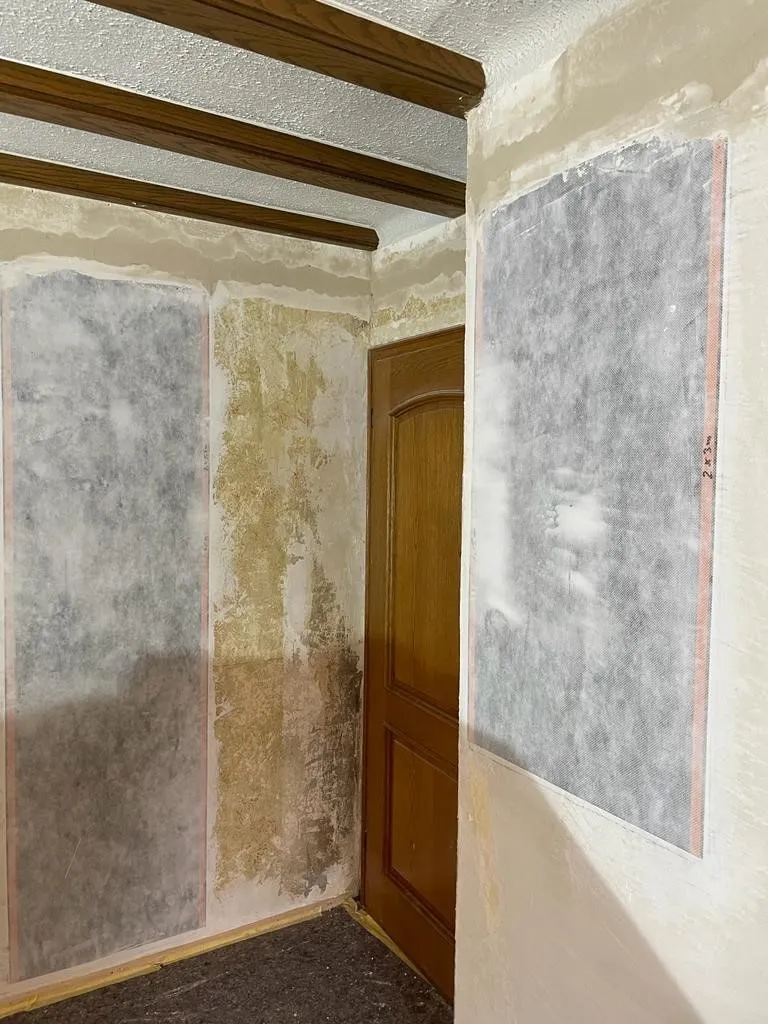
Heritage room, walls covered before plaster 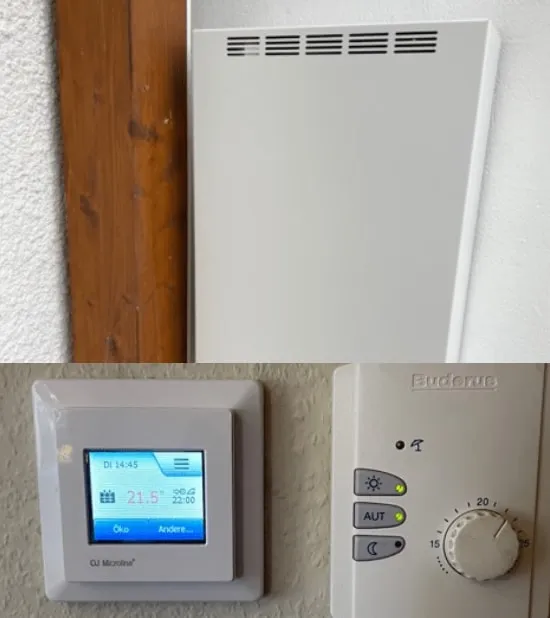
Power supply and thermostat, the only visible parts 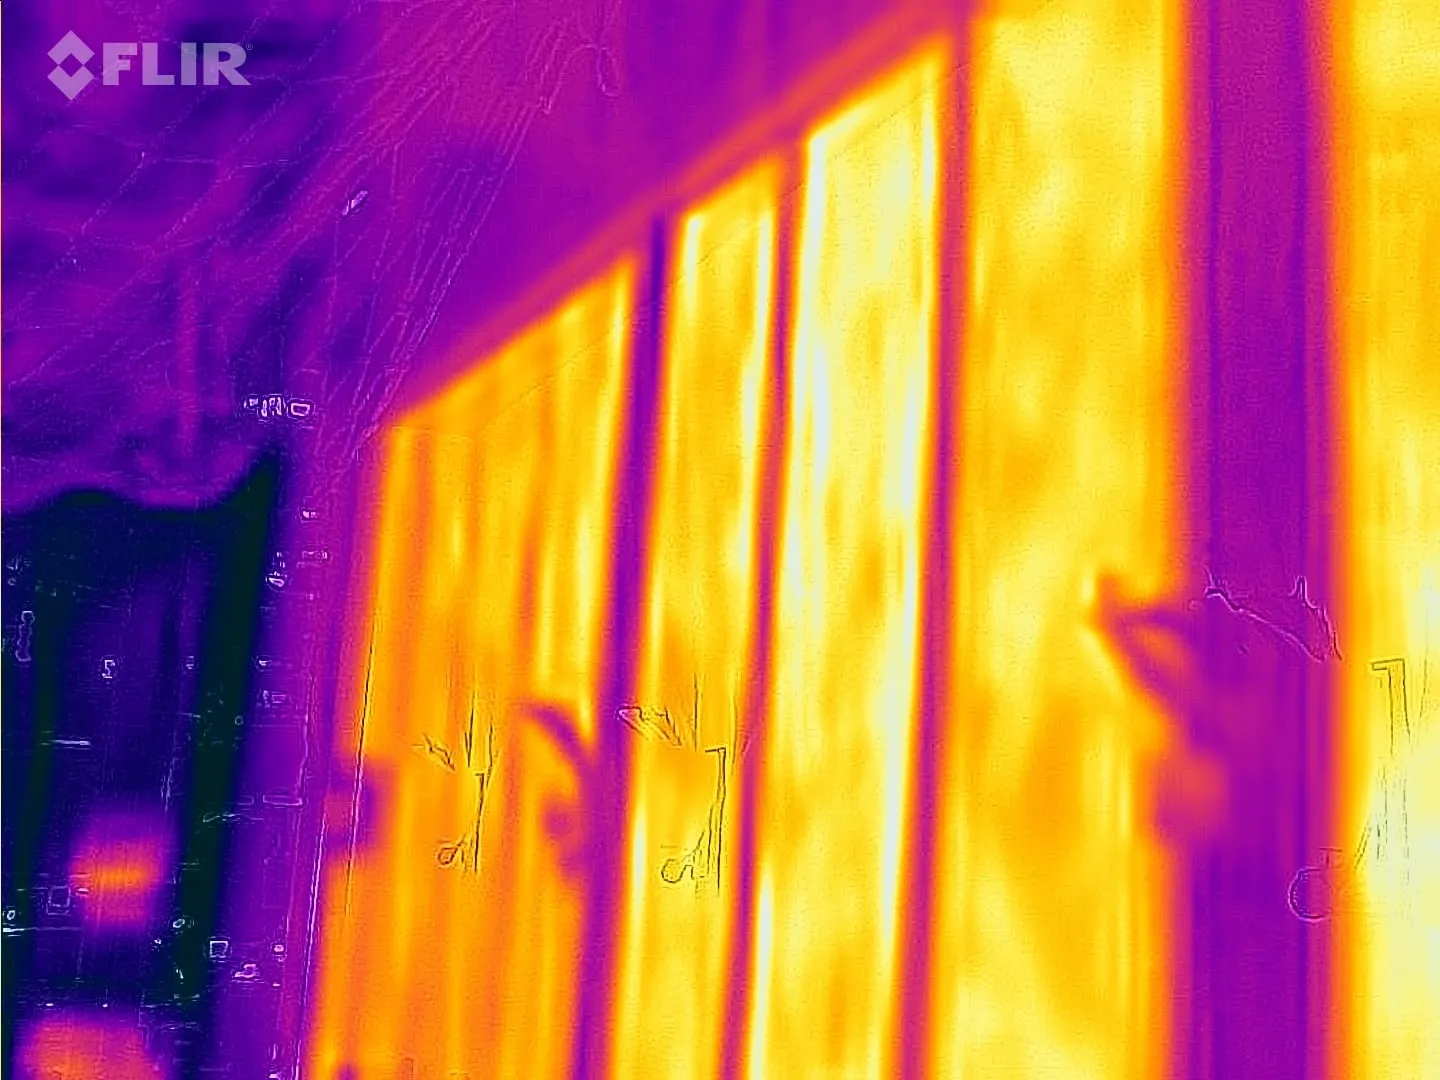
Through the thermal camera: elements behind the finish 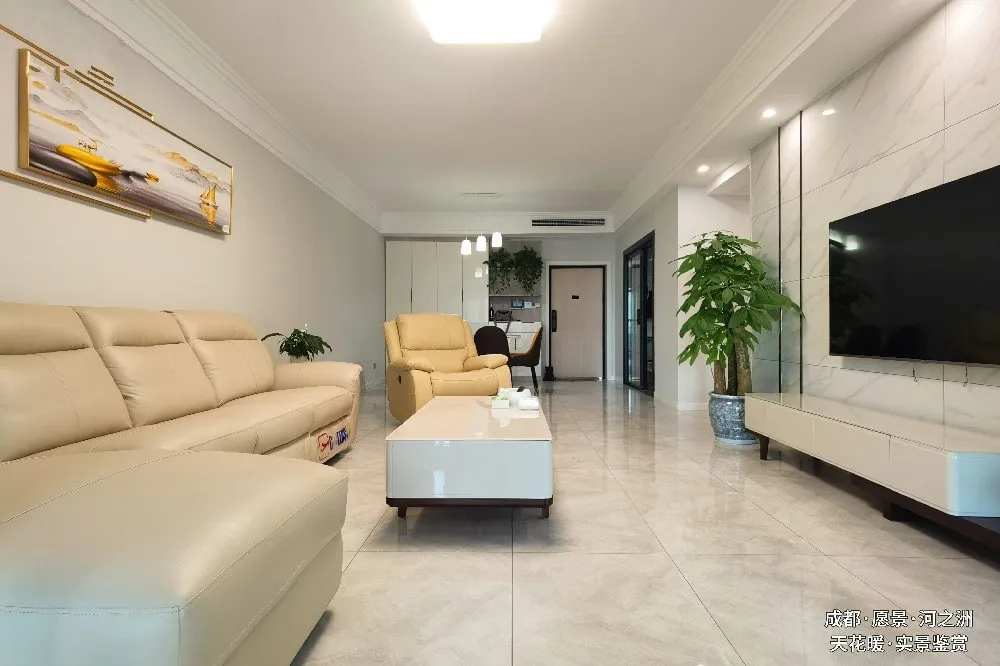
Finished living room. Nothing to see. 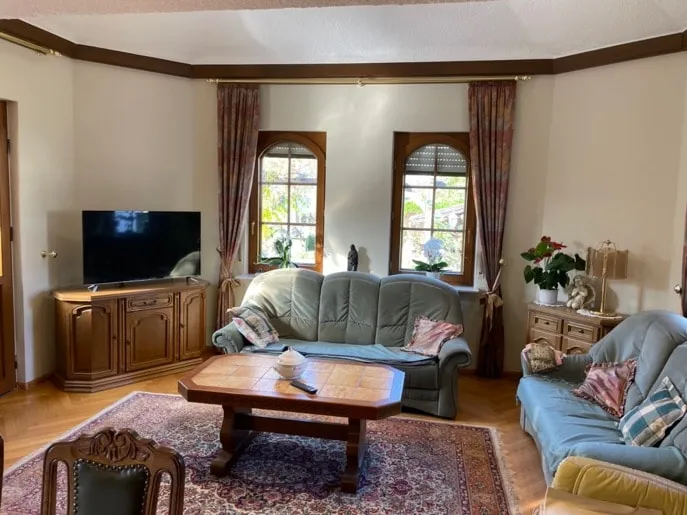
Finished. 36 m² living and dining room, Detzem 
Craft-beer bar, Qingdao. Heated from the walls.
From the people who live with it
“We do not need hot air to feel comfortable.”
Specification
| Element | ComfortScrim |
|---|---|
| Surfaces | Wall and ceiling |
| Voltage | 12–48 V DC |
| Build-up | 2–3 mm under plaster |
| Installed output | 300–400 W/m² |
| Surface temperature | 40–55 °C |
| Infrared proportion | 40–60% of output |
| Time to felt warmth | 10–30 min |
| Surface coverage | Typically 20–30% of the room surface area |
| Certification | CE, TÜV, RoHS compliant |
| Warranty | 10 years product · 20-year tested life |
Technical downloads
- ComfortScrim datasheet
- Multi Zone Power Supply datasheet
- ComfortScrim installation guide
- Declaration of performance
Need a document that is not listed? Ask usand we will send it directly.
Questions we get asked
Can I hang things on a heated wall?
Yes. Because the system runs at safety extra-low voltage, holes up to 70 mm across can be made through the scrim without affecting how it works and without any danger to whoever is drilling. Fix where you need to.
What happens if someone drills into the film years later?
Nothing dramatic. A drill through a 12–48 V element does not present a shock hazard, and a hole up to 70 mm across does not stop the element working: current simply routes around it through the surrounding web. If a larger opening is cut, or an element is severed edge to edge, that zone is repaired with a splice kit and re-tested.
Is the electrical side safe in a wall I cannot see into?
The element never carries mains. The LaminaHeat Multi Zone Power Supply isolates the mains supply through a toroidal transformer and feeds the wall at 12 to 48 V, which is safety extra-low voltage. Every zone is protected and fused at the supply, and resistance and insulation tests are recorded before anything is covered.
Is there any harm from the radiation the elements give off?
No. The elements emit far-infrared at 6 to 15 µm, the same band your own body radiates at. It is absorbed in the outermost fraction of a millimetre of skin rather than passing into the body, it is not ionising, and it is not visible. It is the same mechanism as warmth from a stone wall that has been in the sun.
Wall or ceiling, which should I choose?
The ceiling if the room has furniture against most of its walls, or if the walls cannot be disturbed. The wall where you want a warm surface people can sit or lean against. In many projects we specify both.
Does a plaster finish affect the output?
The finish thickness is part of the calculation. Tell us the plaster system at design stage and the layout is sized against it. Gypsum, lime and render all behave differently and all of them work.
Energy use, estimated
How much energy this surface actually uses.
A radiant surface does not run continuously. It cycles under the thermostat, and the share of time it is on is set by how well the building holds heat. Tell us the standard the building was built or renovated to and how big the space is.
- Installed power
- W/m² of room · kW
- On, cycling
- of the time
- Element on the surface
- W/m² over of the
- Per m² per season
- kWh/m² at 24/7 · kWh/m² at 10 h/day
±10% tolerance. Climate, exposure, glazing, ventilation rate and how the building is actually used all move the number.
How this is calculated
Energy = area × installed W/m² × hours per day × duty cycle × days in the season. The only difference between the two figures is the hours: 24 for continuous temperature control, 10 for smart use through the occupied hours.
- Passive or near-passive (Passivhaus · KfW 40 · EPC A · very high performance): 30 W/m² installed, on 15% of the time.
- New build to current standard (GEG · KfW 55 · Part L 2021 · EPC B): 50 W/m² installed, on 20% of the time.
- Modernised (EnEV 2002–2016 · EPC C · insulated retrofit): 75 W/m² installed, on 25% of the time.
- Partly modernised (WSchV 1984–1995 · EPC D · some insulation): 100 W/m² installed, on 30% of the time.
- Unmodernised (Pre-1978, before WSchV 1977 · EPC E–G · solid wall): 120 W/m² installed, on 35% of the time.
Element density = installed W/m² ÷ coverage. Wall and ceiling (ComfortScrim): 15–30% of the surface, 22% assumed.
Indicative only. Your project's figures come out of the heat-loss calculation and the layout drawing.
The other surfaces
Floor heating
Large open spaces where warm feet are wanted, rooms with ceilings above three metres, and buildings heated around the clock. The largest emitting area at the lowest surface temperature.
See the system Ceiling panel system · PowerBoardCeiling panels
PowerBoard 250 where a suspended plasterboard ceiling is going in. PowerBoard 500 and 750 for open offices and home renovations that need fast mounting with no construction work.
See the systemSend us a floor plan.We will send back a heating system.
Project data, drawings or CAD files in. A room-by-room heat loss, element layout and priced proposal out. No obligation.