How to calculate coverage for infrared heaters
A step-by-step method for working out how much infrared heating a room needs and how many panels that means: heat load bands, a worked example, and where to place the panels.
Getting infrared heating right is mostly a sizing exercise. Too little installed power and the room never reaches temperature on a cold day. Too much and you have paid for capacity you never use.
Here is the method we actually use, with a worked example.
First, what you are sizing
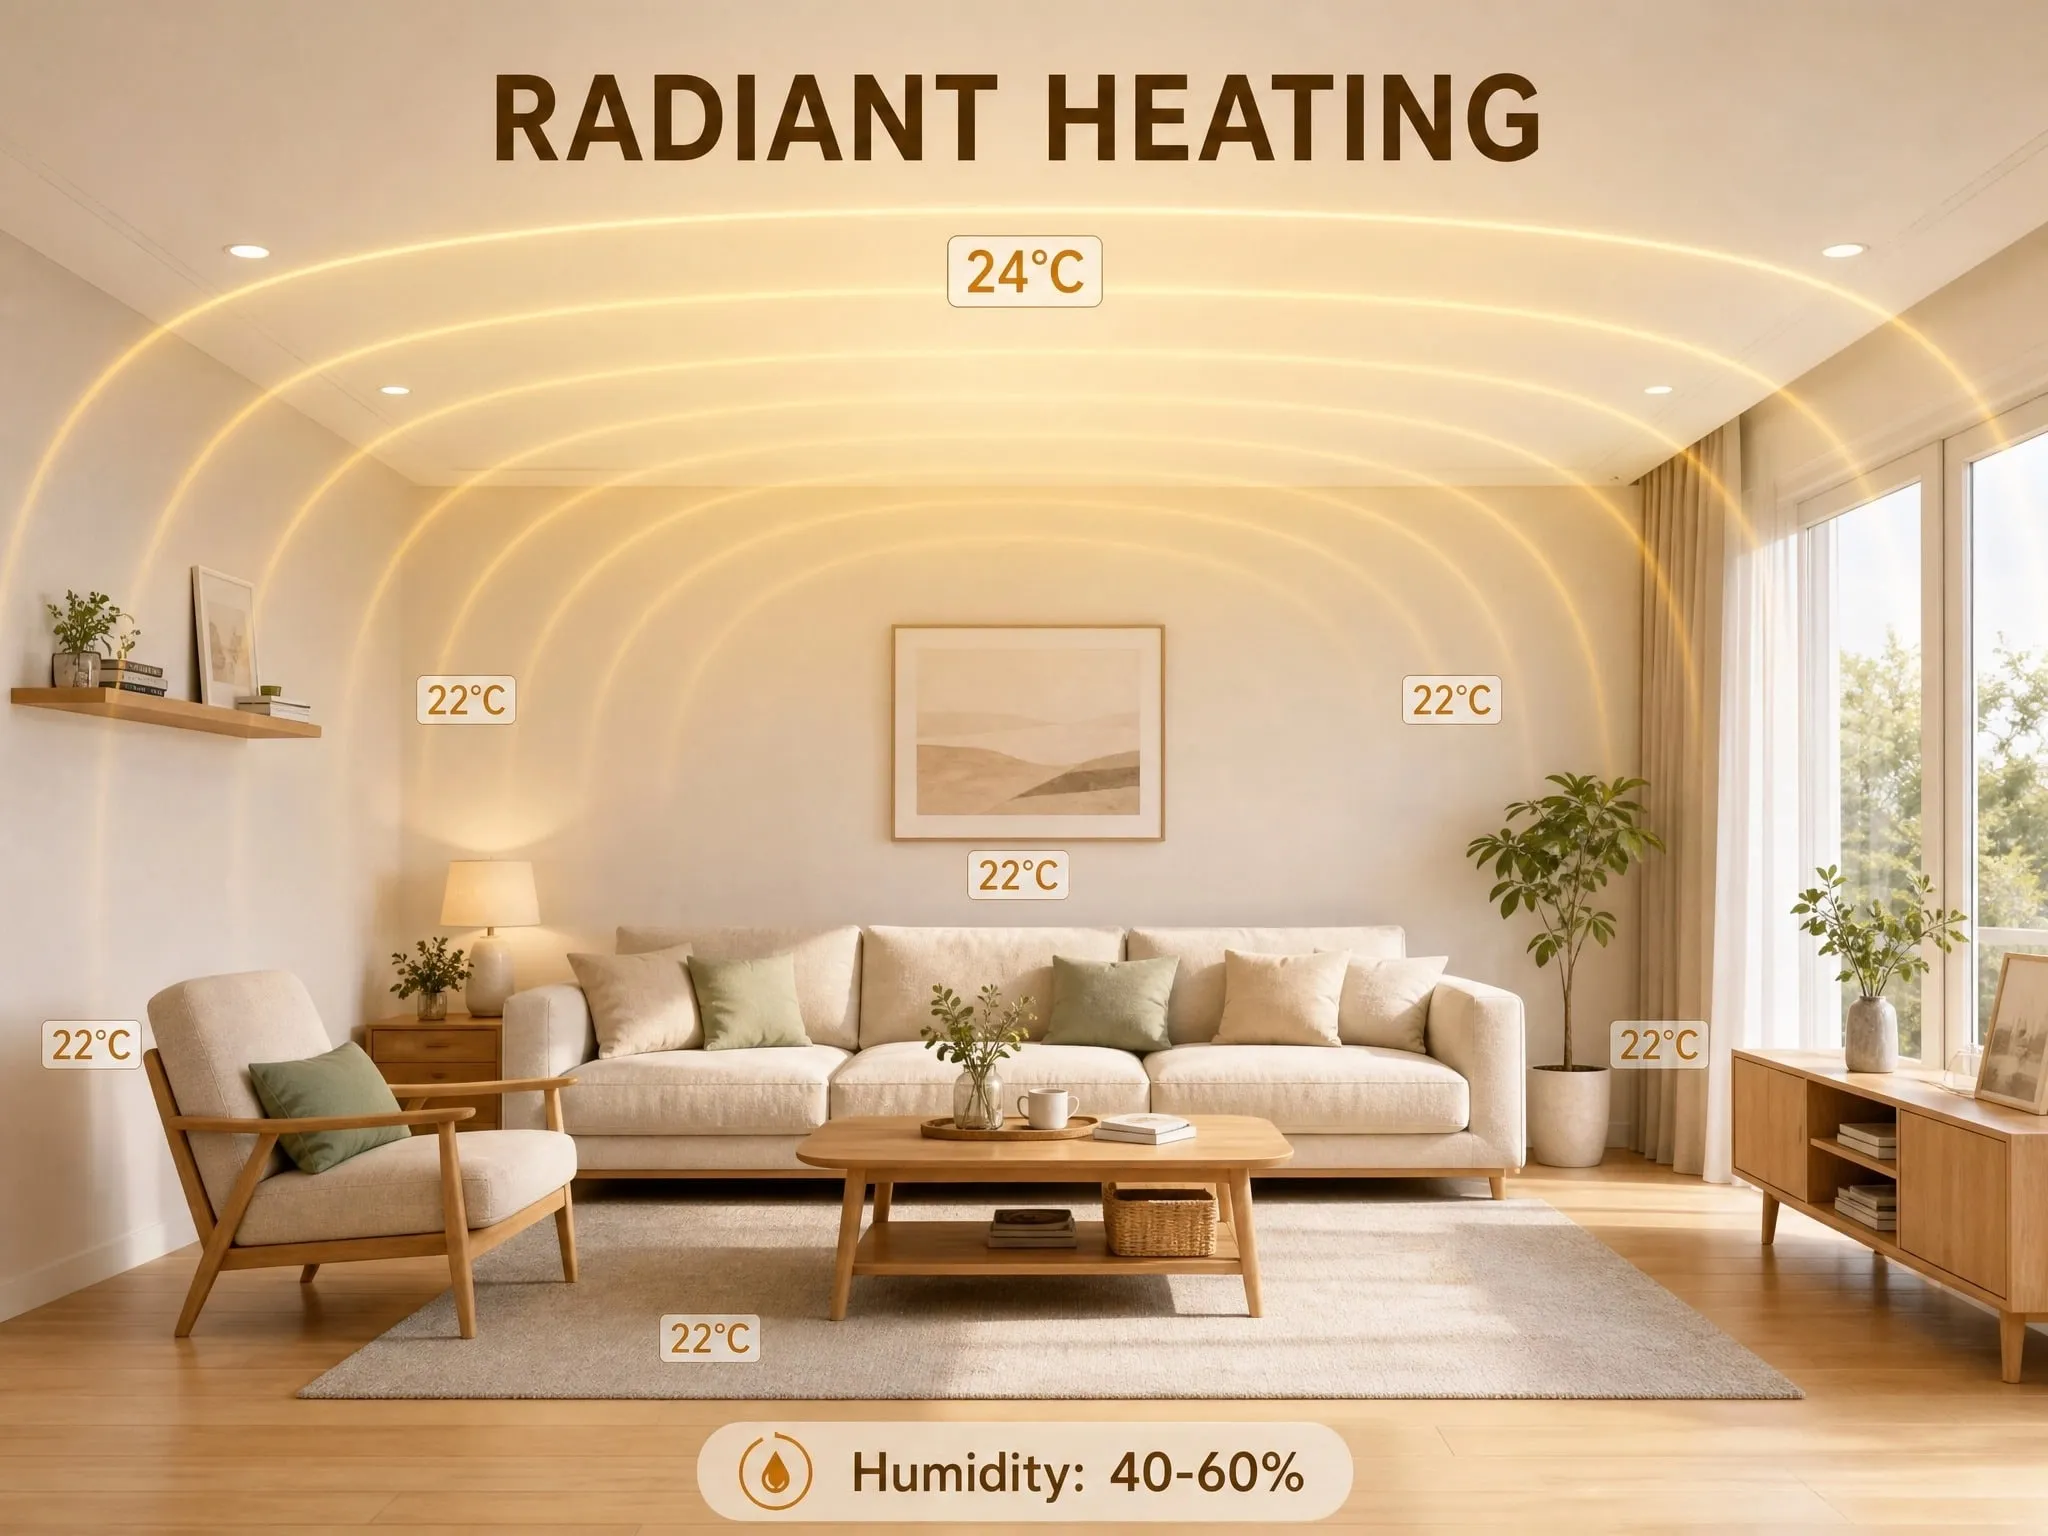
Infrared does not heat the air and wait for the air to heat you. It emits radiation that is absorbed by the surfaces and people in the room, warming them directly — the same way the sun warms you on a cold clear day.
That changes what “enough heating” means. You are not sizing to lift the air temperature of a volume; you are sizing to replace the heat the building loses, delivered onto the surfaces that matter.
Step 1: establish the heat load
The heat load is how much power the room needs per square metre, and it is set almost entirely by how well the building is insulated.
We work from five bands, referenced against both German and UK building standards:
| Building standard | Heat load |
|---|---|
| Passive or near-passive (Passivhaus, KfW 40 / EPC A) | 30 W/m² |
| New build to current standard (GEG, KfW 55 / Part L 2021, EPC B) | 50 W/m² |
| Modernised (EnEV 2002–2016 / EPC C) | 75 W/m² |
| Partly modernised (WSchV 1984–1995 / EPC D) | 100 W/m² |
| Unmodernised (pre-1978 / EPC E–G, solid wall) | 120 W/m² |
If you have a calculated U-value for the envelope, use it. If you do not, the age and construction of the building will put you in the right band, and the band is accurate enough to specify from.
A note on tall rooms. For normal ceiling heights, sizing on floor area works. Above roughly 3.5 metres you should size on volume instead, because there is more air and more envelope for the same footprint — and at that point you should be asking whether a heated floor is the better answer, since floor systems are indifferent to ceiling height.
Step 2: choose the panel
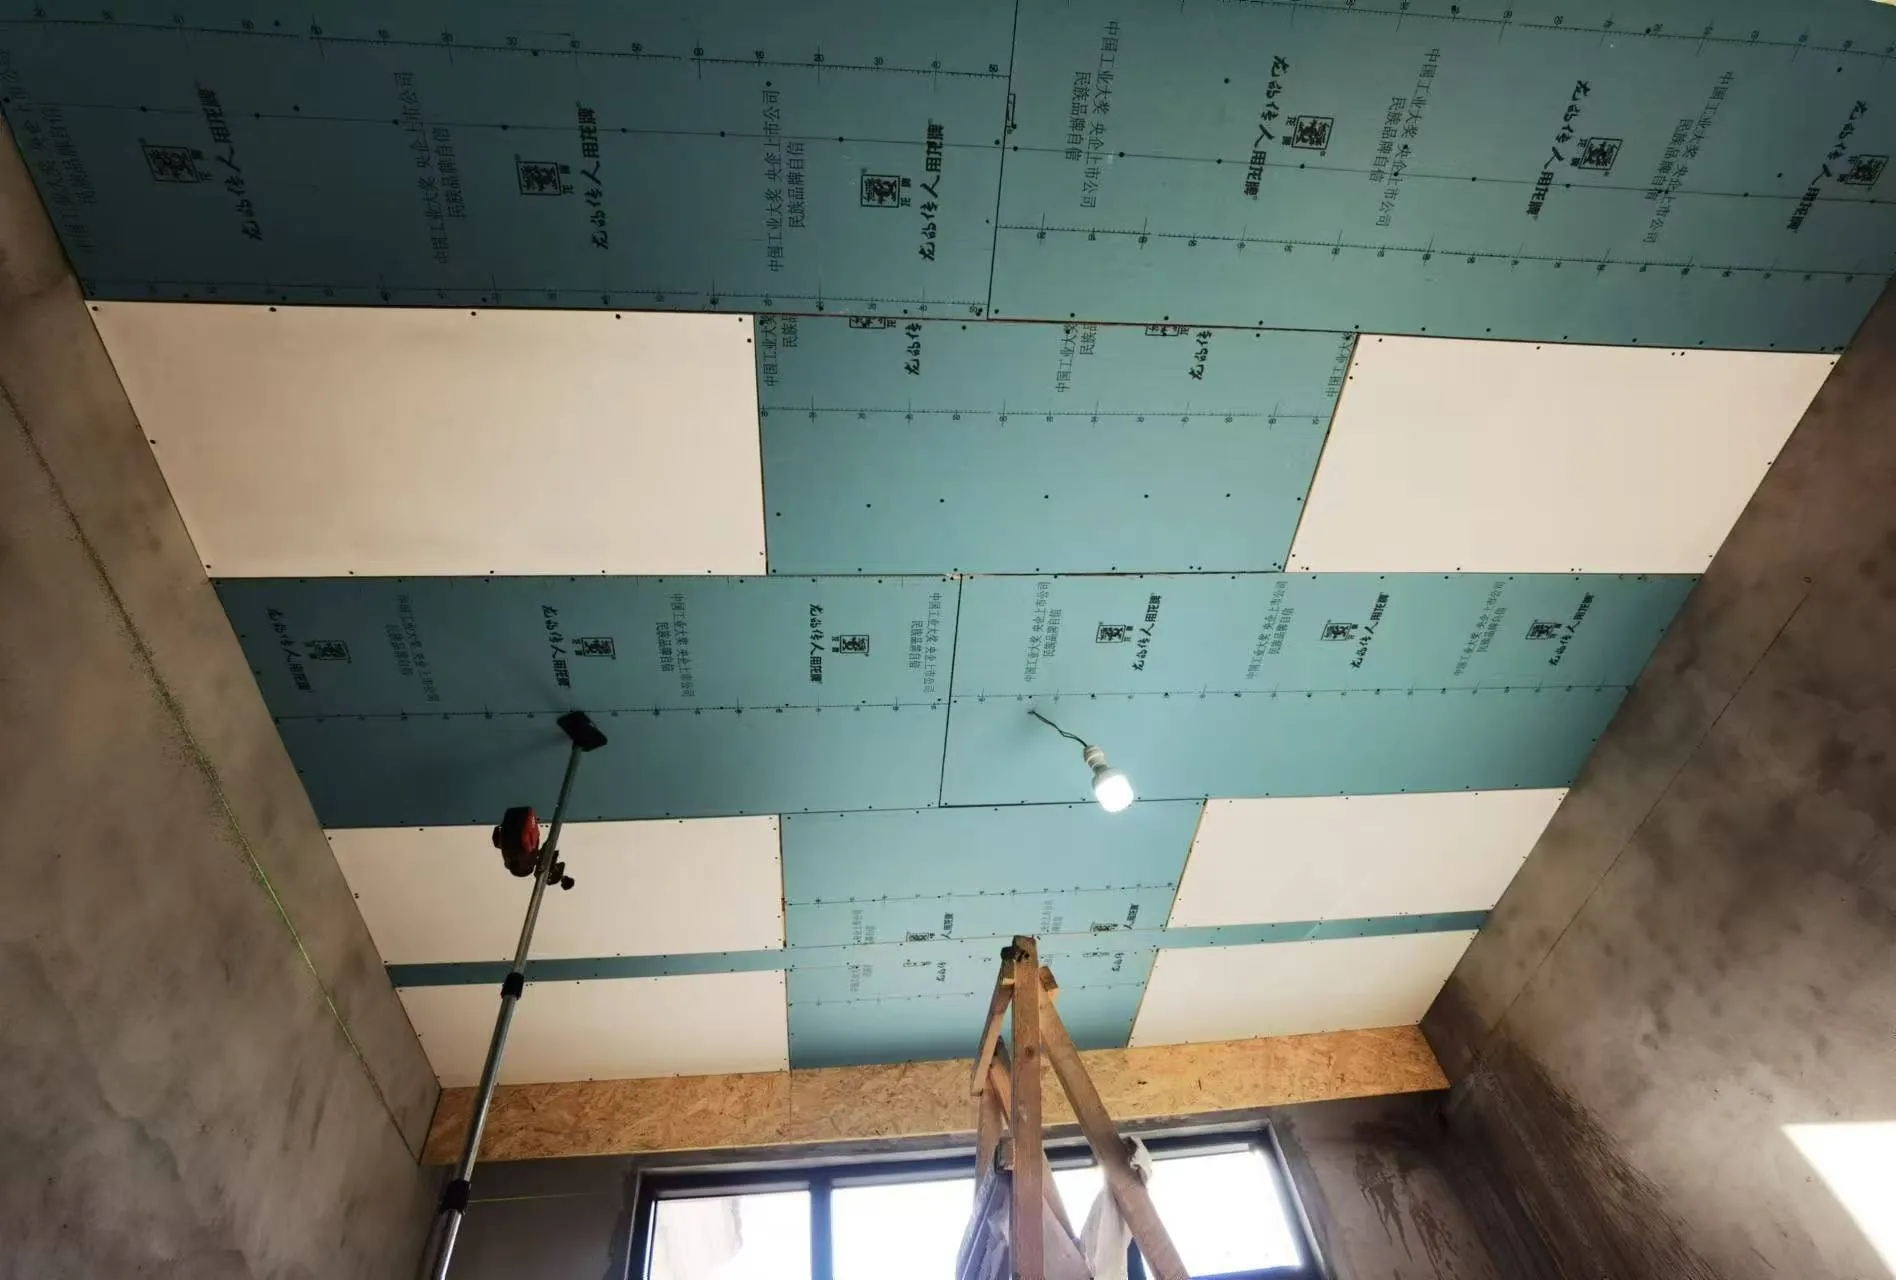
- PowerBoard 250 — 250 W, 1200 × 600 mm, 12.5 mm thick. Embedded in a plasterboard ceiling and skimmed over. Up to 12 per zone.
- PowerBoard 500 — 500 W, 1195 × 595 mm, 25 mm. Surface-mounted. Up to 7 per zone.
- PowerBoard 750 — 750 W, same footprint, 25 mm. Surface-mounted. Up to 4 per zone.
Use the 250 wherever a plasterboard ceiling is being built, because it disappears. Use the 500 or 750 where no ceiling can be built and the panels have to go onto the existing surface.
Step 3: work out the number of panels
A worked example. A living room 4 m × 5.2 m, in a house modernised in the early 2000s.
- Floor area: 4 × 5.2 = 20.8 m²
- Heat load band: modernised, so 75 W/m²
- Total power: 20.8 × 75 = 1,560 W
- Panels: 1,560 ÷ 250 = 6.24 → round up to 7 PowerBoard 250
Always round up. Rounding down leaves the room short on the coldest day of the year, which is the only day it matters.
Seven panels sits comfortably inside the 12-per-zone limit, so this room is a single zone.
Step 4: things that shift the answer
The band gives you a starting point. Four things move it:
Climate. A colder design temperature means more installed power. The same house needs more in Scotland than in the south of England.
Exposure. A house on an exposed hill, on the coast, or high up in a tower block loses more heat to wind. Sheltered sites lose less.
Glazing. A room that is largely glass behaves differently from one with two small windows, regardless of what year the house was built.
Use. A bathroom wants to be warmer than a hallway. Size for how the room is actually used.
Step 5: place the panels properly
Sizing tells you how much. Placement decides whether it works.
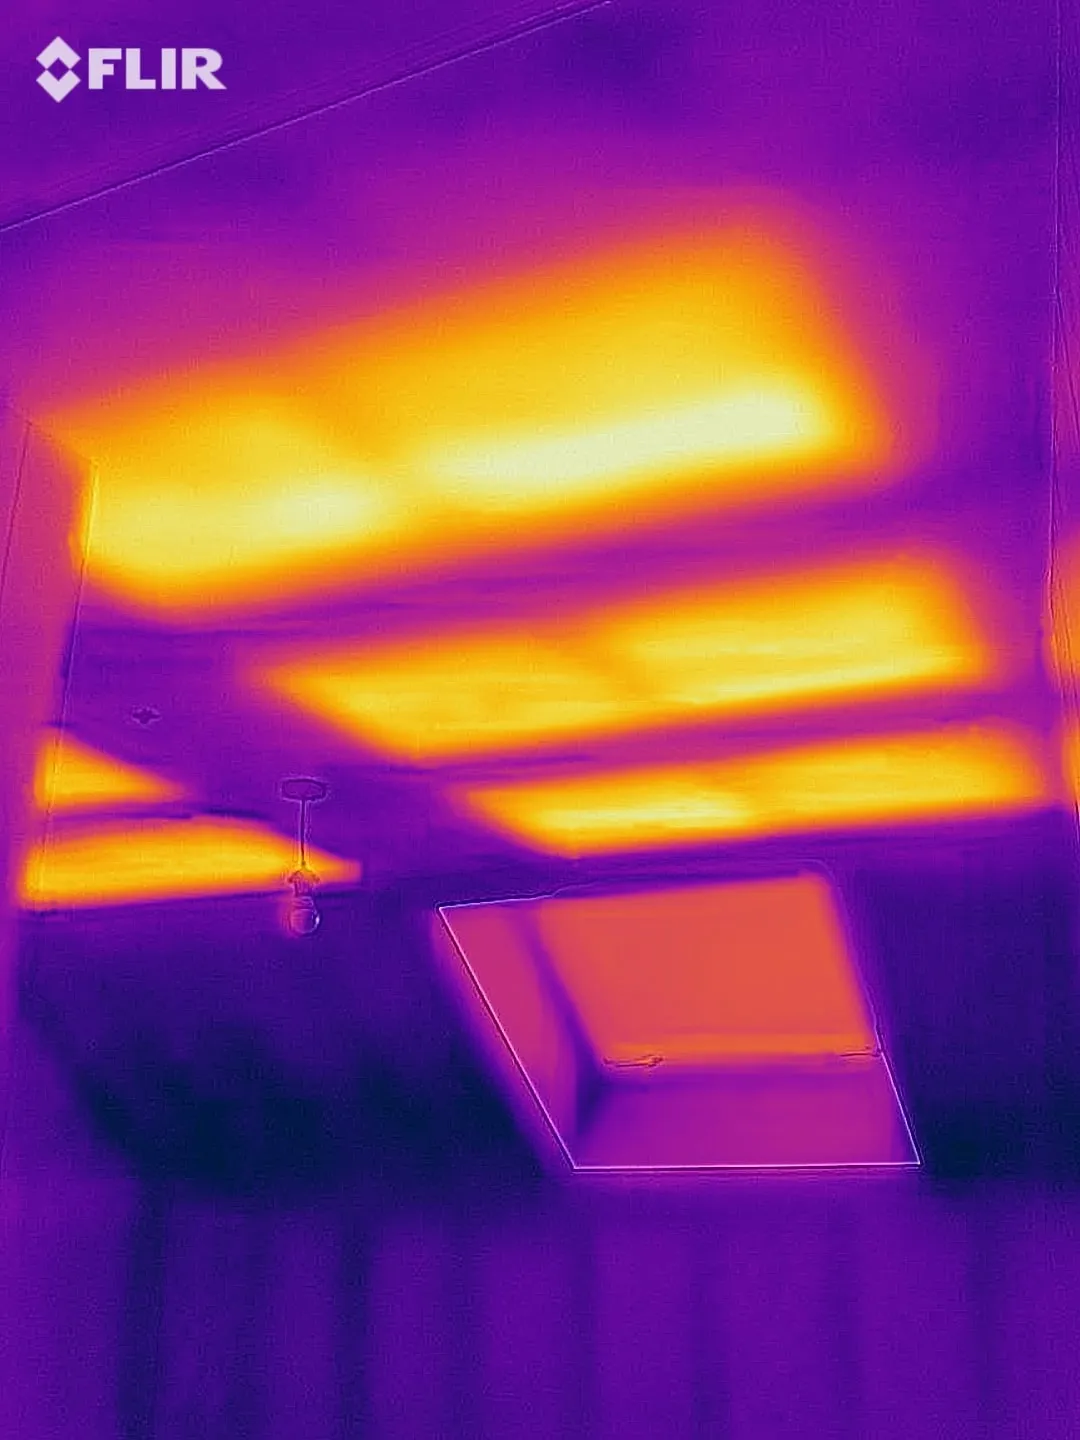
- Distribute them. Several panels spread across the ceiling beats the same power concentrated in one place. Even distribution is what removes cold spots and stops you overheating one end of the room to fix the other.
- Work toward the losses. Put emitting surface near the façade and the windows, where the heat is being lost and where downdraughts form.
- But do not face a window directly. Radiation aimed straight at glass largely goes out through it.
- Start 600 mm from the outer wall, then space panels about 1.2 m apart centre to centre across the width of the ceiling, distributed along its length.
- Avoid obstructions. A panel radiating onto a slanted wall, a bulkhead or a chandelier is a panel doing much less than it could.
Ceiling beams, downlights and services will interfere with the ideal layout in practice, and budget sometimes argues for fewer panels than the theory wants. Both are normal. Just be aware that each departure from even distribution costs some effectiveness.
Surface temperature is part of the specification
Worth checking on any product you compare. Conventional infrared panels typically run at 90 to 110 °C, which produces the “hot head, cold feet” sensation and rules out embedding them in a ceiling.
PowerBoard 250 is engineered around roughly 55 °C — warm enough to do the work, gentle enough on plaster and paint to be skimmed over, and low enough that nobody notices where the heat is coming from.
Or let us do it
This method will get you a good estimate, and the estimator on each system page will turn it into kilowatt hours for running cost.
But a real specification does the heat loss room by room, accounts for glazing, exposure and use, and produces a layout and a load schedule. That is what we do, and it is free: send us your plan.